
As we all know, and although we refer to operating systems by the same name, Linux is the kernel on which they are all based. The systems are GNU/Linux, but we are only going to mention that in passing here today. What interests us is that there are many many operating systems and distributions based on Linux, and one of the most popular is the one developed by Canonical. I still use it from time to time, I have it on a partition on a laptop, but as long as it doesn't fail me, I now use Manjaro. Speaking of this popular distribution based on Arch Linux, its installer is Calamares, and everything is easier than with Ubiquity. So if we want install Ubuntu on a USB, we have to be careful or do some other trick.
One of those tricks, and the safest, is to install it from GNOME Boxes, as I already explained in our sister blog Ubunlog. It has always worked for me, but there is usually a small problem: when starting up, it usually does not find the kernel, so just take out the pendrive and put it back in; then it does detect it and everything works normally. It is the price to pay for not endangering any of our existing installation. But it can be done another way, a little more dangerous but that will leave Ubuntu on a pendrive running as if we had installed it on the hard drive.
The problem: Ubiquity detects all partitions and offers no options
As we have mentioned, Calamares makes things a lot easier. If at the time of installation we indicate the pendrive as the destination unit, it will make all the necessary modifications so that we can do it, and it has no loss. This is not the case with Ubiquity, where an easy way to get Ubuntu installed on a pendrive would be unmount the hard drive before starting the installation process. That may be easy on a tower computer, since it's just a cable "pull" away, but it's not so easy on more modern laptops where accessing the hard drive and other components is only available to professionals or the most handyman
Install Ubuntu on a USB
So no, we're not going to unmount the hard drive. What we are going to do is trick Ubiquity into thinking that there is no boot-related partition that it needs to modify. The process would be as follows:
- We create a Live USB. Whom Linux Adictos There are several tutorials, but right now I would recommend using or windy o Whale Etcher.
- We start from the USB. To do this, first we have to access the BIOS and change the order of boot drives, or else it is likely to boot from the hard drive. This step can be complicated, but not because it is, but because each computer has the BIOS and its options in a different way and it would be impossible to talk about all of them.
- When booting from the USB, we have to choose our language and then “Try Ubuntu”.
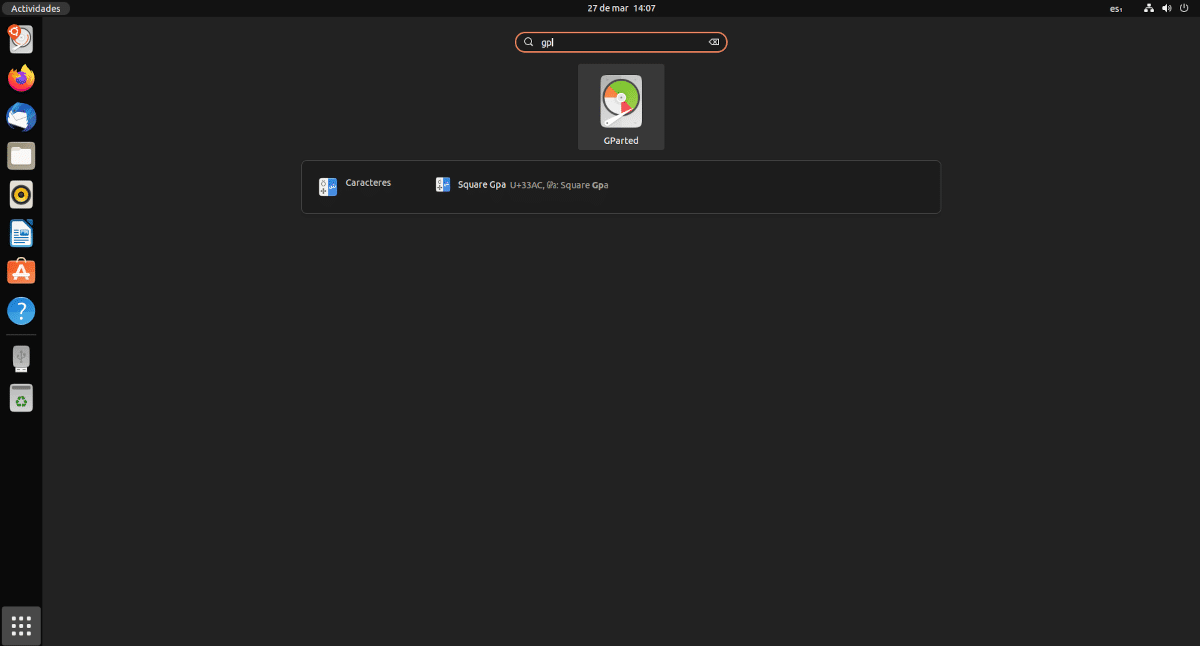
- In the next step is the trick, the equivalent of physically dismounting the hard drive. We open the app drawer, which can be by pressing the META key (Windows) and look for GParted. It usually comes in the Ubuntu Live Session, but if this is not the case, we will open a terminal and write.
- Now we open Gparted.
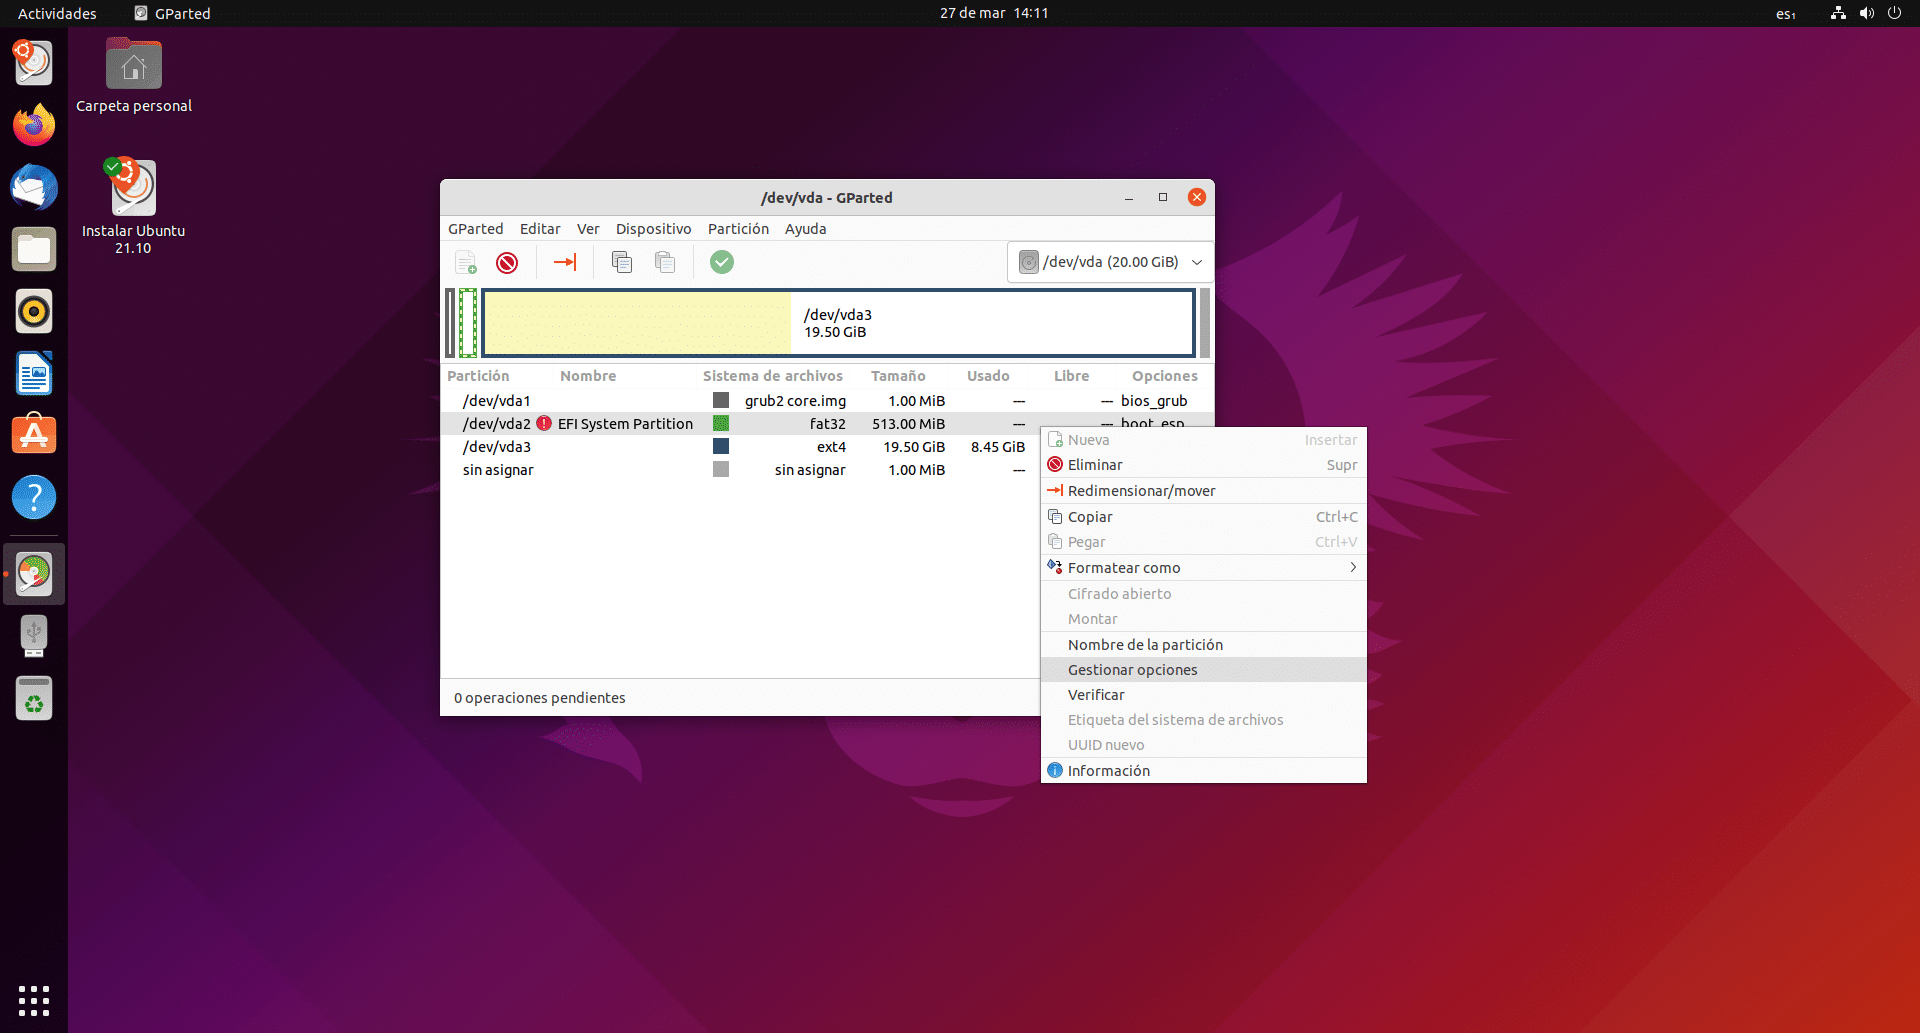
- We choose the hard drive, the computer.

- We right click on the partition where you have the options
boot, espand click Manage Options.
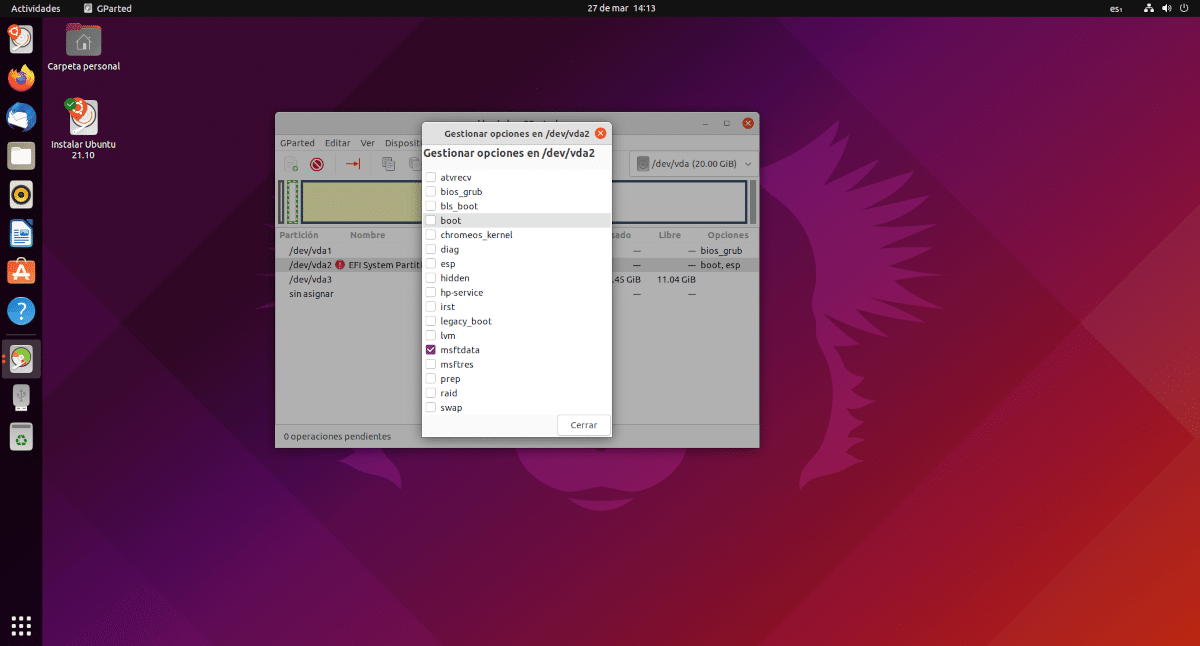
- We deactivate the
boot(yesp) . This usually adds another, themsftdatabut we leave it like that.
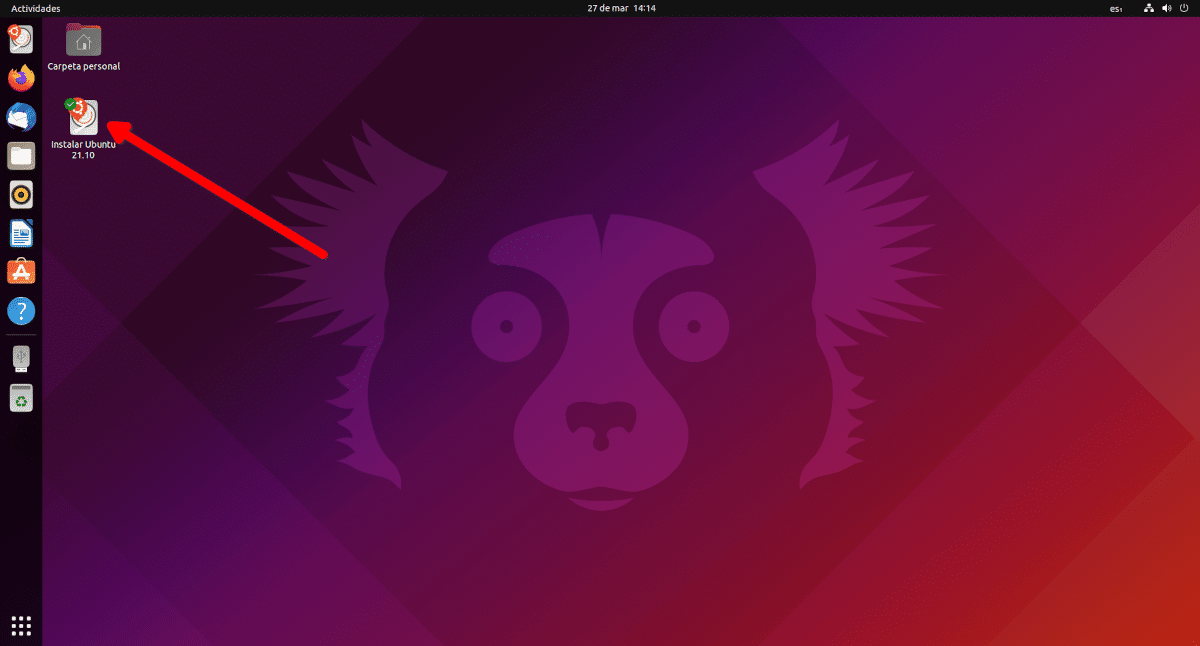
- From now on, everything is easier. We connect the USB where we want to install Ubuntu(*).
- We double click on the Ubuntu installer icon.
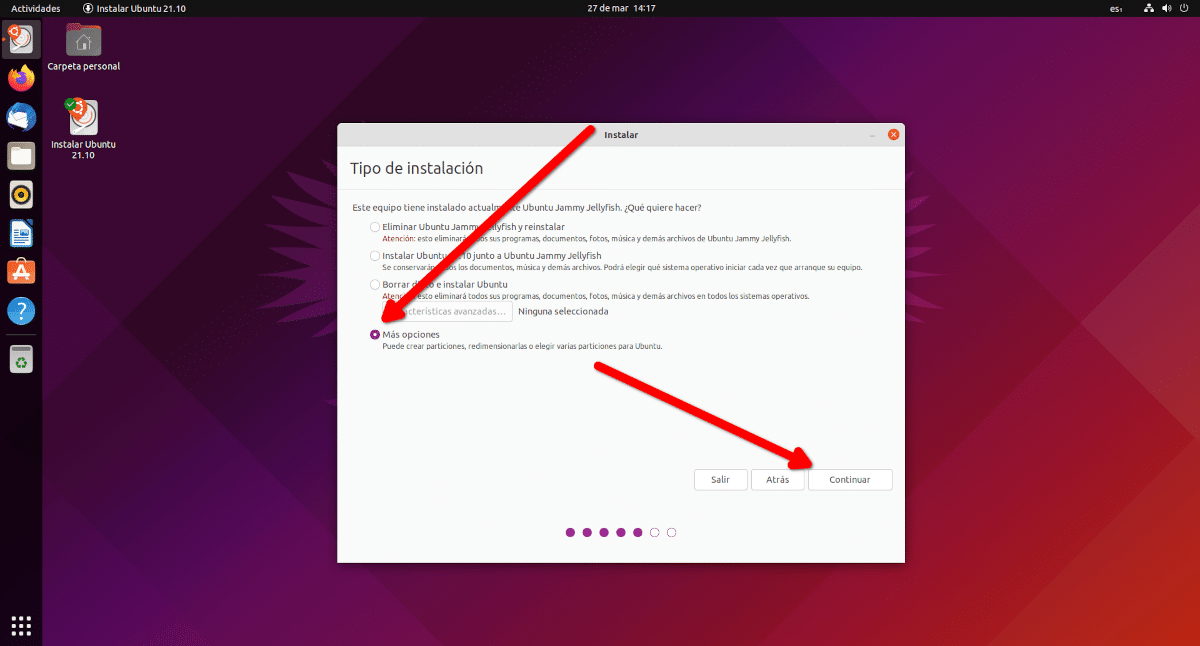
- We choose the language, we tell it what type of installation we want, minimal if we have a pendrive with little space or full if we have plenty, and we continue until the screen appears that tells us how to install the system.
- We choose “More” and then “Continue”, at which point all partitions will appear.
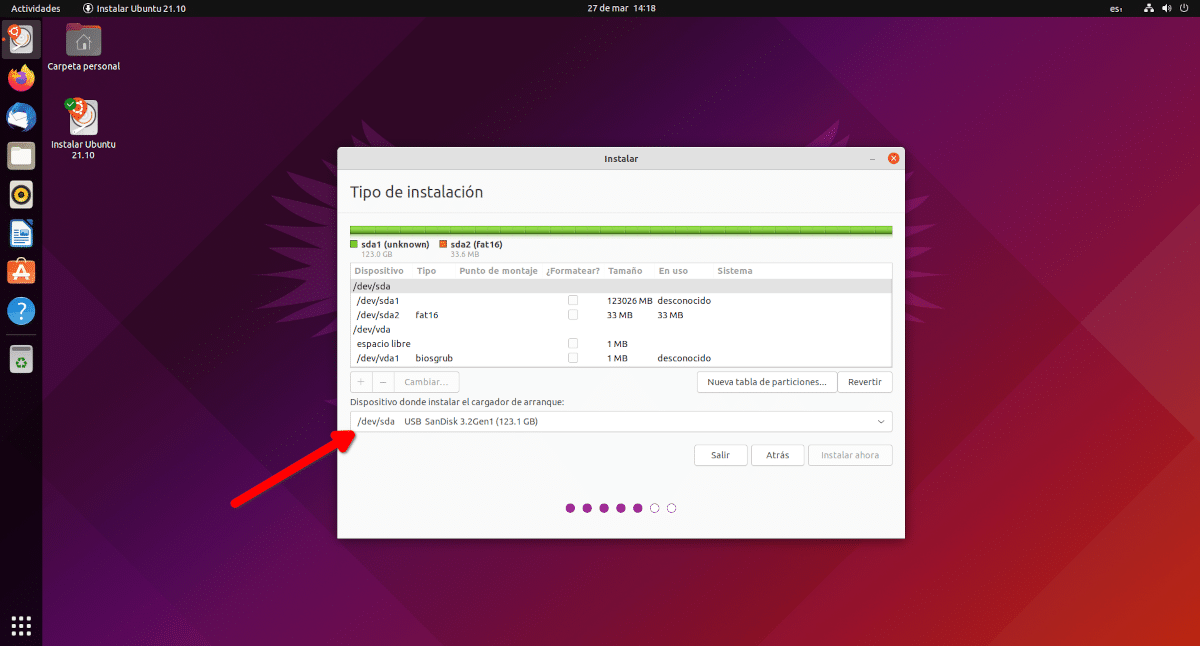
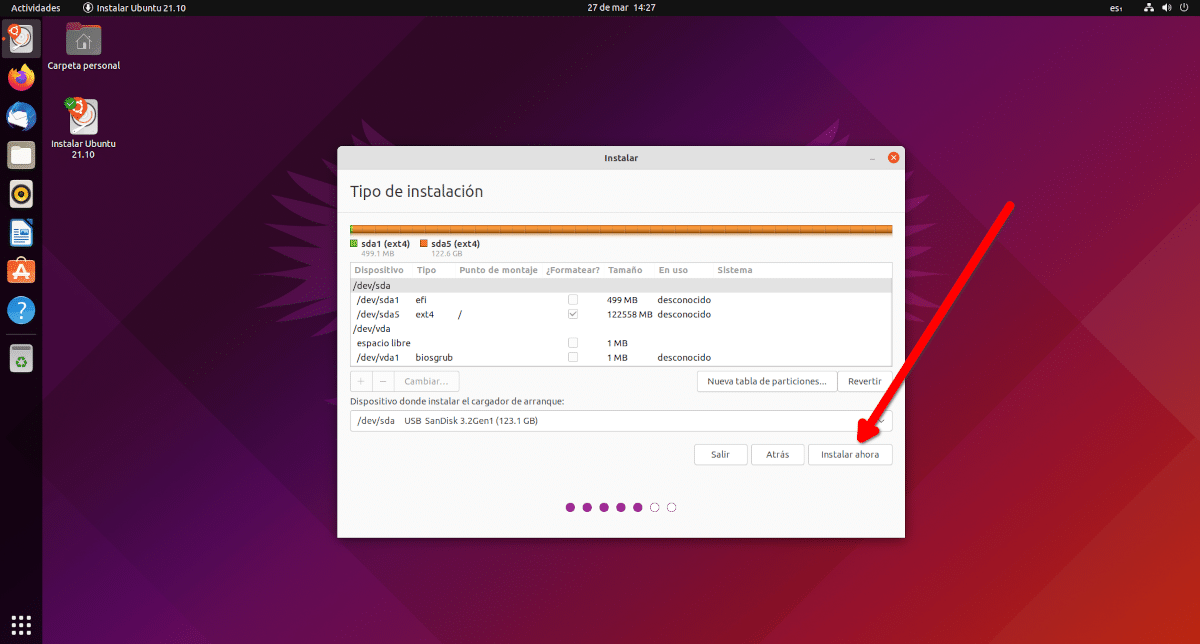
- In the drop-down menu at the bottom, where it says which device to choose for the bootloader installation, we choose our destination USB.
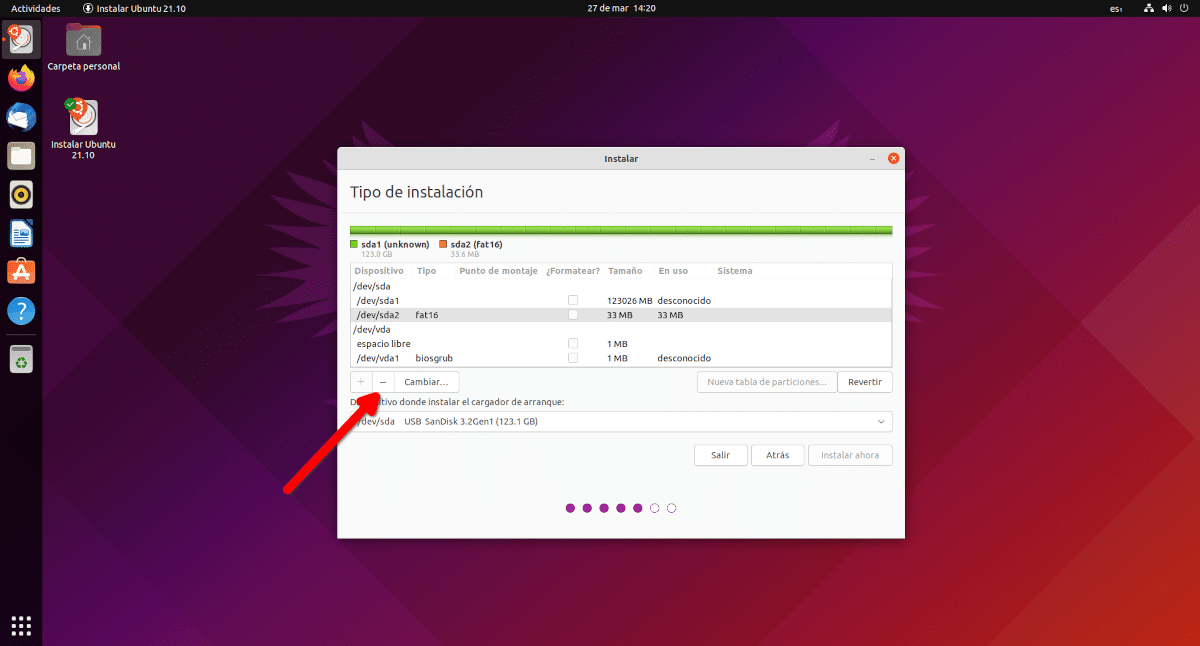
- In the destination USB, if we had not done it before, we delete all the partitions that exist, clicking on the subtraction symbol (-) button.
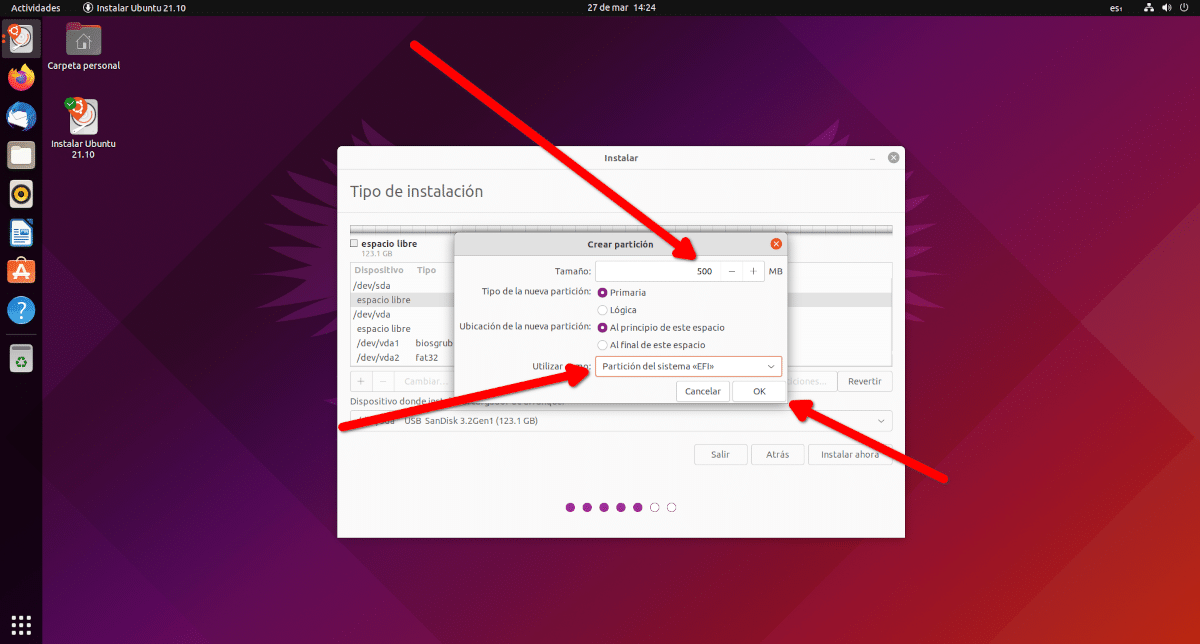
- Now, we choose the point where it says “Free space” and click on the plus symbol (+).
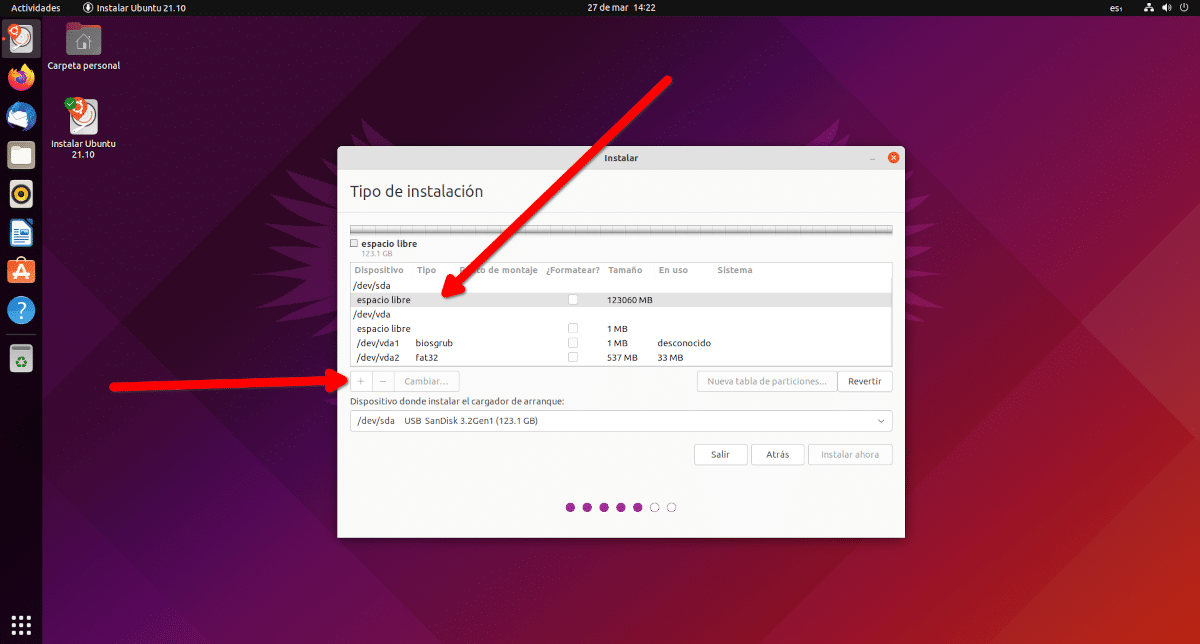
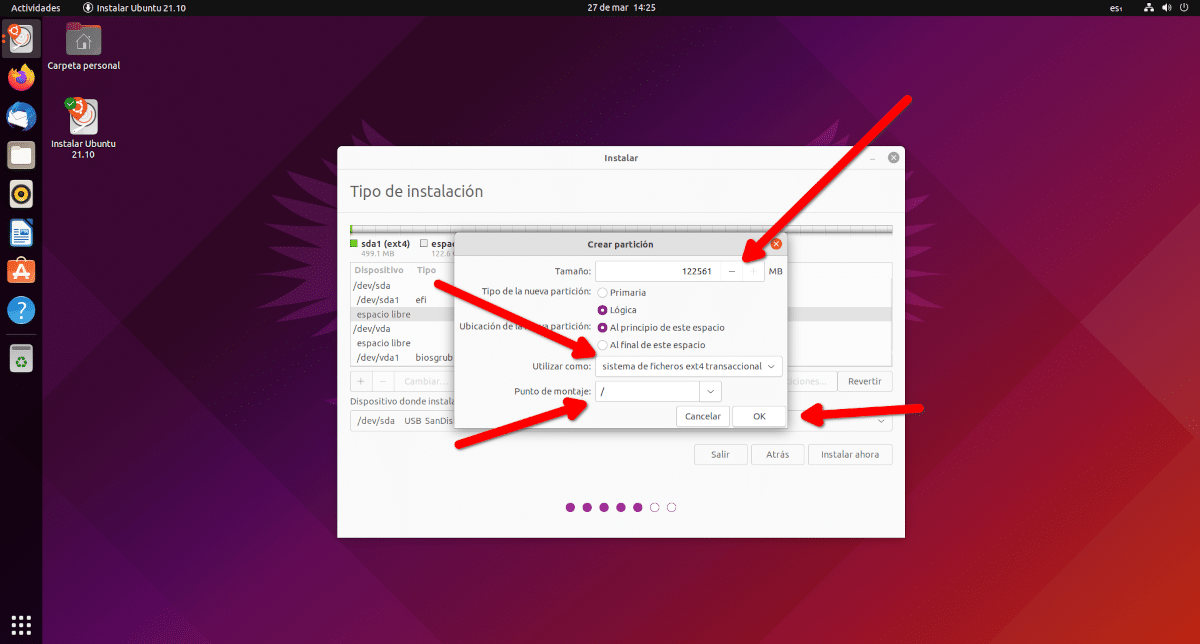
- Here we can do the usual: create a partition for HOME, another for the system and one for swapping, but on a USB I wouldn't do that much. I would just create a 500mb partition and mark it as an EFI partition. After that, we would repeat step 15 to create an Ext4 partition with the mount point at root (/).
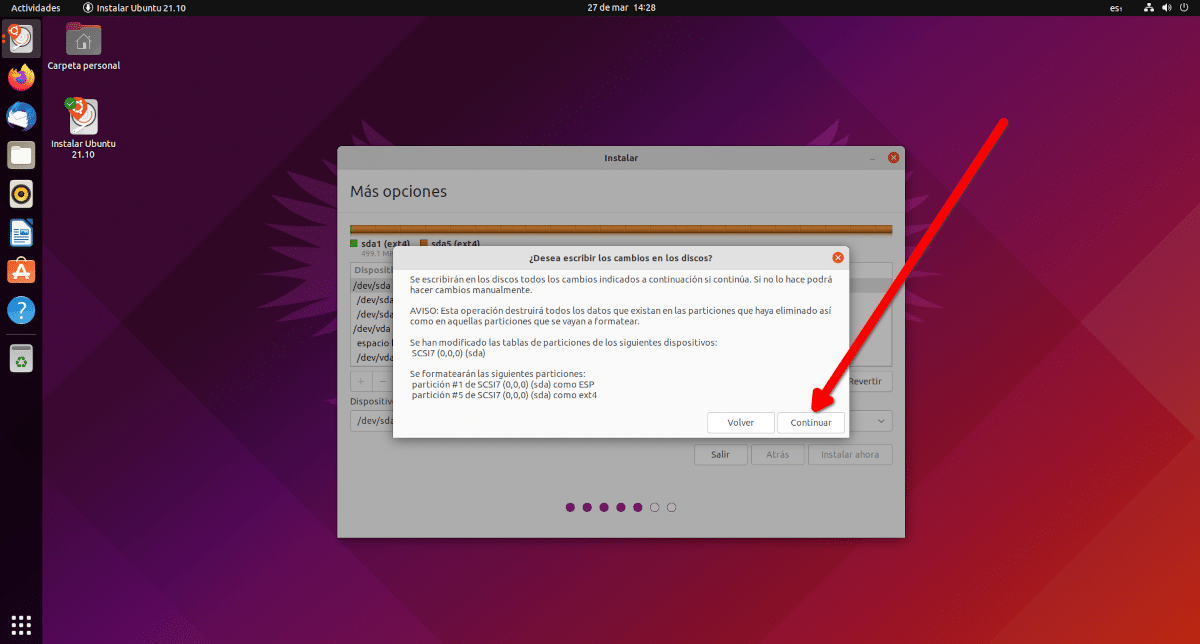
- We click OK and continue, clicking “install now” and accepting the prompt.
- We finish the installation process, filling in the fields of the time zone, user, password, etc.
- We wait, and we wait a good while. Installations on a flash drive usually take a long time, although less than if we were to install Windows :P
- At the end of the installation, be careful with this, we must not restart. Aren't we forgetting something? We have to reverse step 4. To do this, we open Gparted, we choose the hard drive of our computer, we click on the partition that will now have the label msftdata, we mark it as
espandboot, if it is not automatically checked.
And that would be all. We can now use Ubuntu as if it were installed on a hard drive, or as if we had used Calamares, which makes all of this much easier.
It is important to mention that, although this process to install Ubuntu on a pendrive is supposed to be safe, changing the flags can be somewhat delicate, so everyone is responsible for their actions if something goes wrong. Just in case, backups prior to these operations never hurt.
Hello, I have it working like this on a laptop whose hard drive broke, I installed Lubuntu 18.04 on a 16 gb usb, it works great.
But it is not the same to install and make Lubuntu work the same as Ubuntu.
The USB version is not guaranteed to be fast.
Lubuntu for the theme that is lighter when working on usb and the equipment you have, of course I would like Xubuntu more.
Good afternoon.
I have installed the UBUNTU mate 20.04.5 LTS version on the flash drive but when I start with the flash drive I get the GRUB RESCUE message. because?
regards