
Although for Linux there are options such as GNOME Boxes, the software that is most used if you want to work in a virtual machine with guarantees is VirtualBox. Personally, I find a couple of defects, such as that everything starts in a small window or that some things cannot be done after the installation from scratch, but it also has other very good ones, such as that we can intuitively save virtual machines wherever we want.
If what you are looking for is to take a quick look at the system that contains an ISO, for which a Live Session is useful, I think that the GNOME boxes are a better option, more than anything because they go full screen even the live sessions . But for everything else, other more veteran software is worth it. What GNOME Boxes does make easy is access USB drives, something for which in VirtualBox we have to take a walk. If we want to have an operating system almost 100% within our main system, we will have to do what we indicate below.
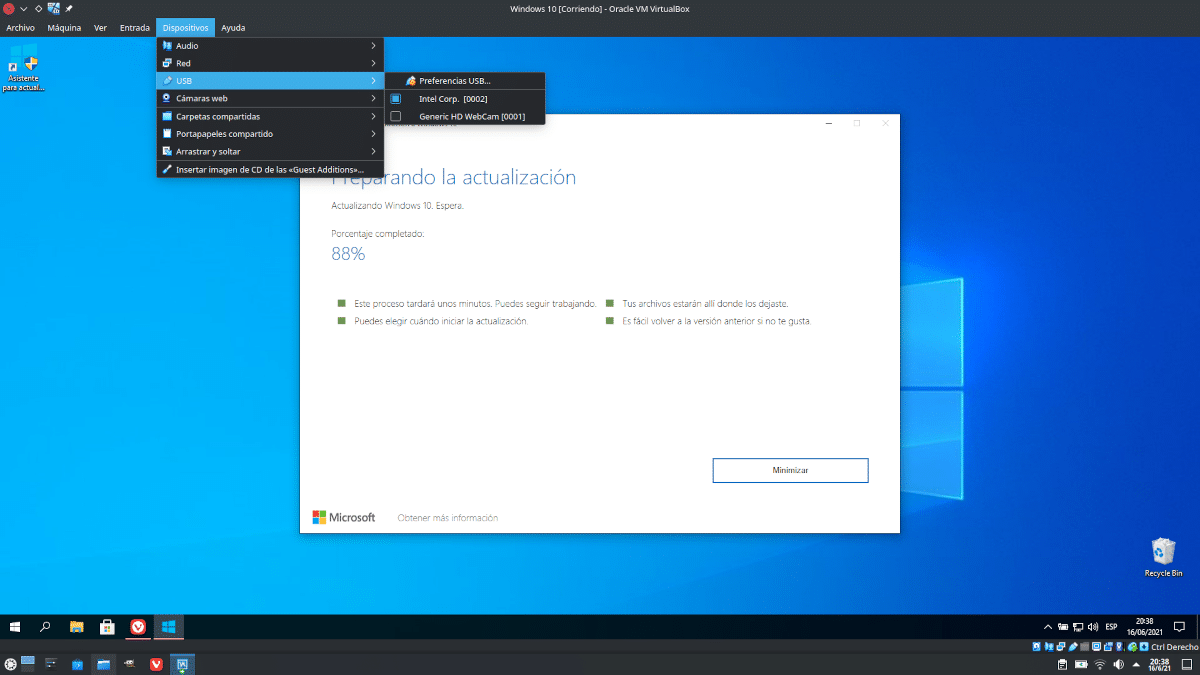
Guest Additions and enable USB in VirtualBox
Although the Guest Additions are not necessary to access the USB, they are worth installing, so the tutorial would look like this:
- We install VirtualBox. It is in the official repositories of most Linux distributions, so we can do it from the software center or store of our system.
- Once installed, and in order not to get confused, we are going to install the VirtualBox Extension Pack. This package will be necessary to enable access to the USB, but also to other hardware such as the webcam. In this step, what we will do is download the package from this link. We can also do it from the page that appears in any search, but if we do so we will download the latest version and it can cause problems with the VirtualBox that we have installed. You have to download the Extension Pack that matches the version of our VirtualBox.
- Now, without any virtual machine installed, although nothing happens if we already have it installed, we go to Tools / Preferences. It has to be in the general preferences, or else we won't see the extensions option.
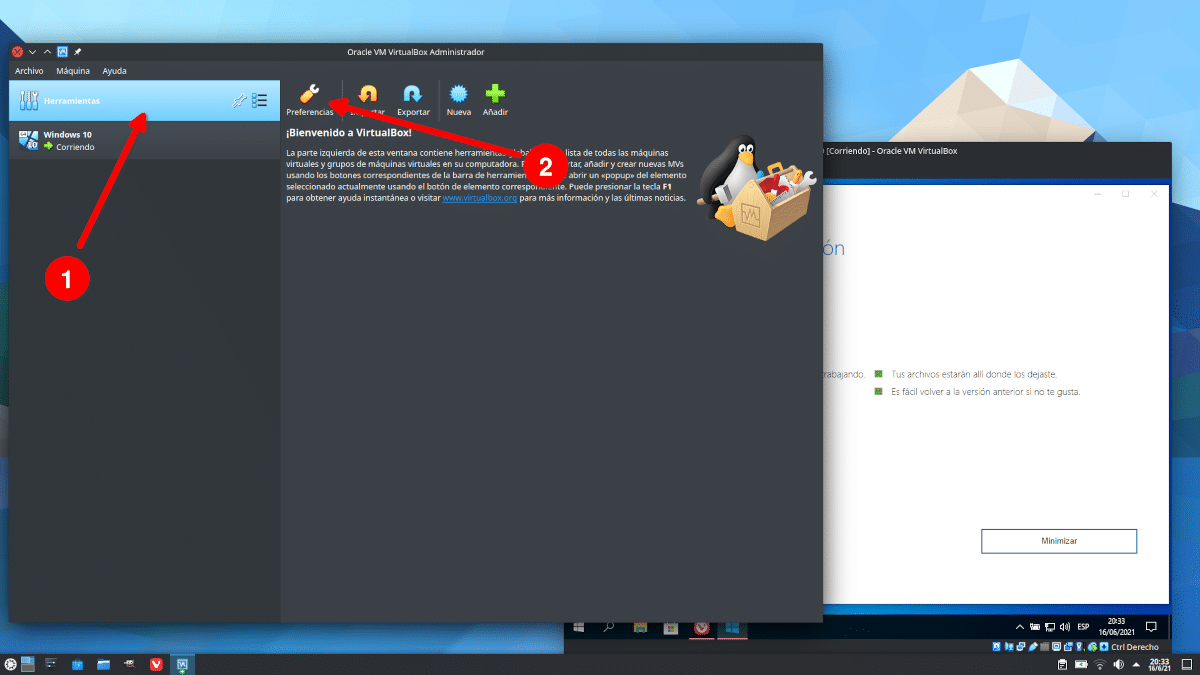
- We click on Extensions.
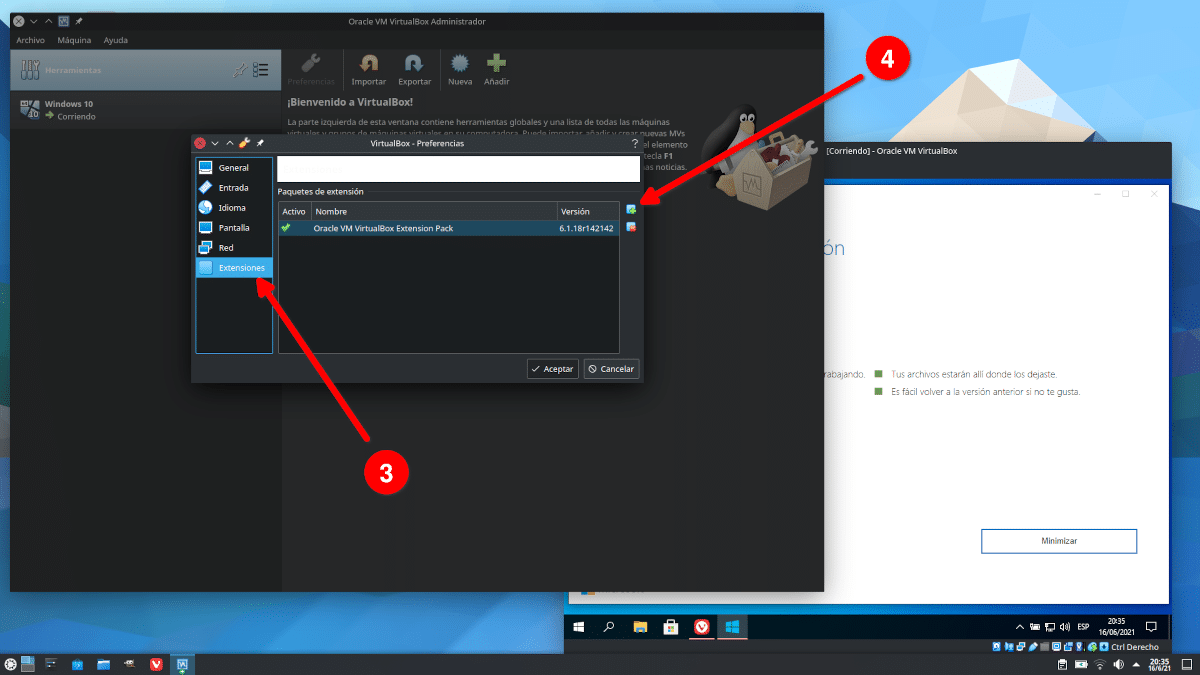
- Now, we click on the right and on «Add new package».
- We select the package that we have downloaded in step 2.
- We accept the message and enter the password.
- We already have the package installed, but now it remains to give us permission, something necessary if we use Linux. To do this, we open a terminal and write the following, where USER will be our user and it is usually in lowercase:
sudo usermod -aG vboxusers USUARIO
- Next, we write this other command, where USER is our user:
sudo gpasswd -a USUARIO vboxusers
- Now we can access our drives and devices, for which we will have to start a virtual machine. If we didn't have it installed, now is a good time.
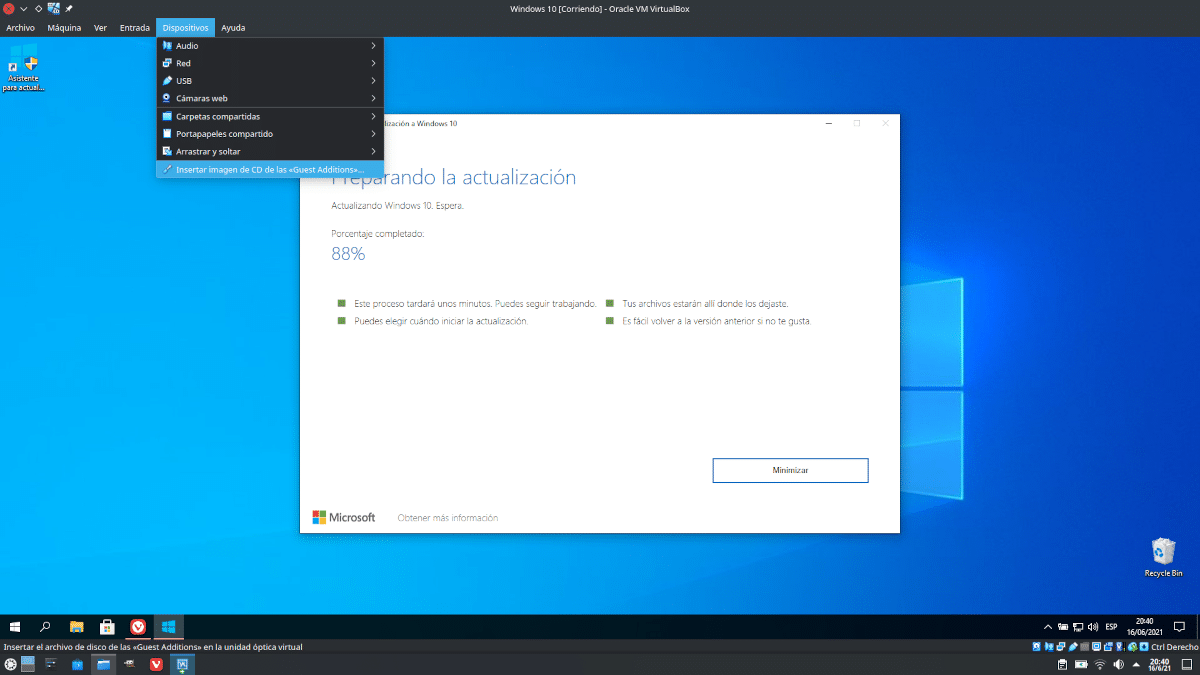
- The next step, although we have said that it is not necessary, it is worth installing the Guest Additions, for which it is enough to go to the Devices / Insert CD image of the Guest Additions menu and accept the messages.
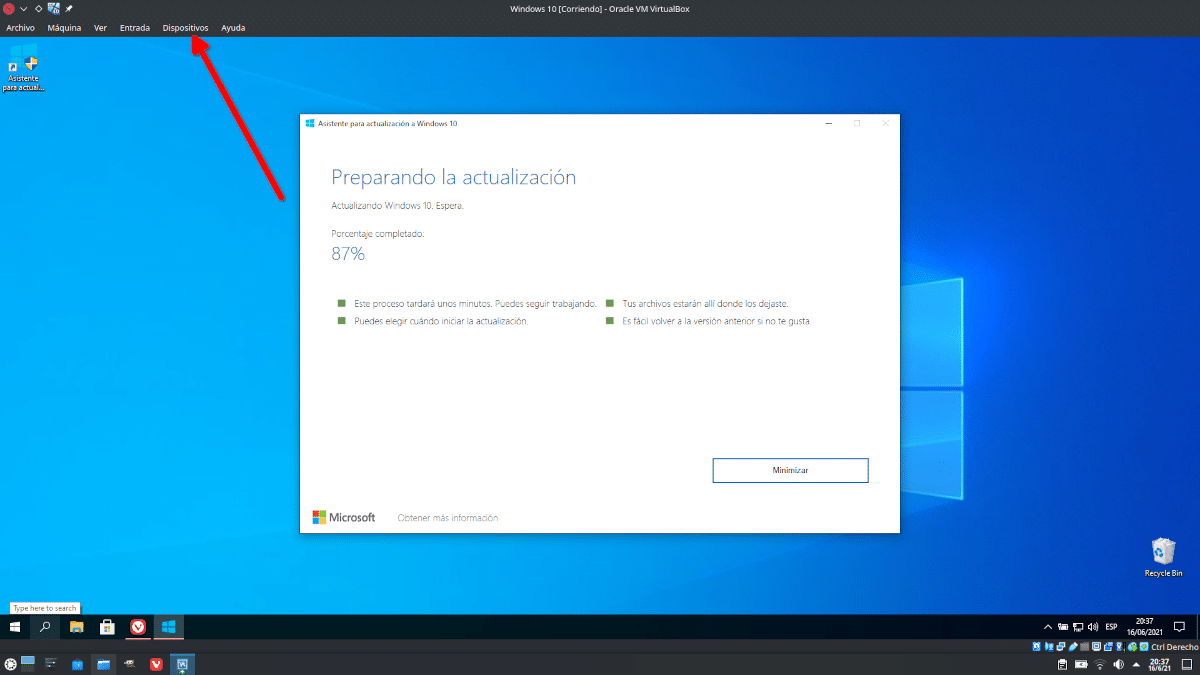
- With the machine started and the Guest Additions installed, we go to the Devices / USB menu. Everything that can be connected will appear there, among which we will also have our webcam. We just have to indicate the type of USB it is, between 1.0, 2.0 or 3.0, and accept. The unit will appear in our host system.
The last step can also be done with the virtual machine without starting, but I think it is easier if we do it ,.
Works on any operating system
This we have explained here works for any operating system, so Linux users can have Windows installed and, if the equipment is not very limited, everything works perfectly. For example, it allows us to use software such as iTunes to manage an iPhone / iPad, or Garmin Express if we want to download the maps to our Garmin cycle computer. Of course, we can also install native software such as Guitar Pro, but for the latter it is worth continuing. our tutorial since we can run it on Linux thanks to WINE in PlayOnLinux.
That that starts in a small window, it will be to you that you will not have it well configured, it occupies the entire screen.
Do not do this on a business computer or you will have a long-winded oracle claiming you a fine for not having acquired your license. Guest additions are not free and recommending their use should be punishable by death by kiki.