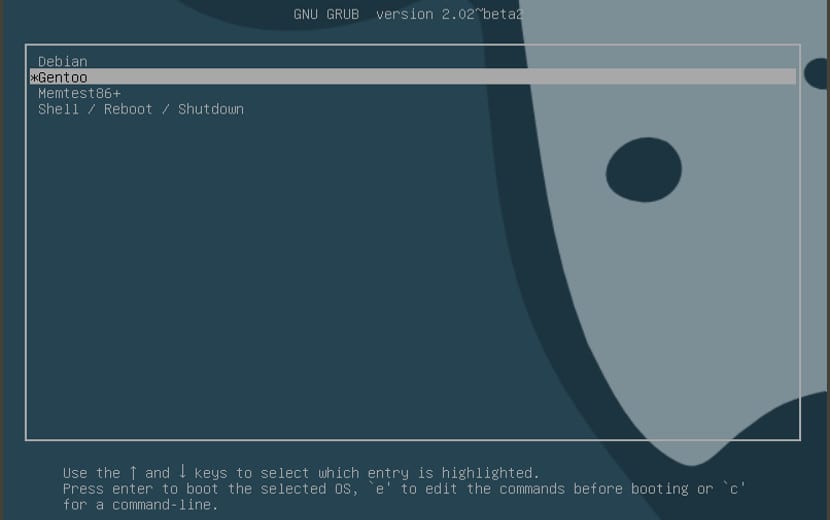
The bootloader Grub2 It is the most popular manager and has the most distributions. But it is also one of the least personalized programs that exists in the Gnu / Linux World, although with the second version of grub this changed and allowed to update and customize this bootloader.
To give our own touch, we can add colors to Grub2 and also a background image, but we can also change the name of the entries, the title, the font size, the resolution, the font, etc ...
Grub2 even allows us to change the inputs of the operating systems that we have
However, with today's trick we are only going to show you how to put a background image. These steps must be done little by little because grub2 is a very important program of the operating system, perhaps the most important after the kernel and if it fails, we are left with no operating system and no data. So be careful.
If we want to change the color of the background or the letters, we only have to open the Grub configuration file and add the lines of the grub color. We would do it like this, first we open a terminal and write the following:
sudo gedit /etc/default/grub
Then we look for the following lines or we add them if they are not with the relevant colors:
# Para los colores, agregar (Escribir el color deseado):
GRUB_COLOR_NORMAL="light-gray/transparent"
GRUB_COLOR_HIGHLIGHT="magenta/transparent"
#GRUB_COLOR_NORMAL="light-gray/black"
#GRUB_COLOR_HIGHLIGHT="green/black"
#GRUB_COLOR_NORMAL="cyan/blue"
#GRUB_COLOR_HIGHLIGHT="white/blue"
We save it and we already have the background and letter color. But some will want an image instead of a background. This can be done anyway. We just have to open the terminal and write the following:
sudo apt-get install grub2-splashimages
This will create us a folder inside the grub with different images that can be used. The folder address is as follows: / usr / share / images / grub. If we want to modify the image, we only have to select the one we want and in the previous configuration file modify the following line:
GRUB_BACKGROUND="/usr/share/images/grub/NOMBRE DE LA IMAGEN SELECCIONADA"
Now we save the document and for all the changes to be applied correctly we have to open a terminal (or in the same one as before) and execute the following change:
sudo update-grub
After this, everything will be updated and we will have the changes applied in our grub that we will see when we restart the computer. It's an interesting trick Do not you think?
Doing that in deepin is the easiest thing in the world, with a graphical interface
no need for that XD code and command stuff
it is the easiest linux to use »
Could it be that there is no application that does that? It's like a lot for so little, right?
Joaquin,
Thank you very much and please continue to provide us with more information, since,
for example, I did not know of this way to modify the Grub.
Regarding the question of Jose David E., if there is a software to modify
the Grub, for Ubuntu-based distributions (like Linux Mint) and it's called
Grub Customizer.
To install it, you must enter the Terminal and apply the following commands
sudo add-apt-repository ppa: danielrichter2007 / grub-customizer
sudo apt-get update
sudo apt-get install grub-customizer
Use it with care remember that you are working on the Grub
hello to everyone who could help me to put a photo in group2, it doesn't come out the same as the tutorial shown in this post, I have fedora 23
I have slackware14.2,64bits, does this same procedure work?
If not, please tell me what is the way to do it, under this distro?
Thank you