En a previous article we talked about StatusPilatus, an excellent tool that allows us to monitor certain aspects of our team, this makes it quite attractive because It provides us with a very intuitive and attractive GUI.
But what happens in the case of those who manage servers or prefer to use the terminal. For this we have glances, which is a cross-platform command line tool, written in Python, to monitor the use ofe CPU spaces, Average load, Memory, Network interfaces, Disk I / O, Processor and file system.
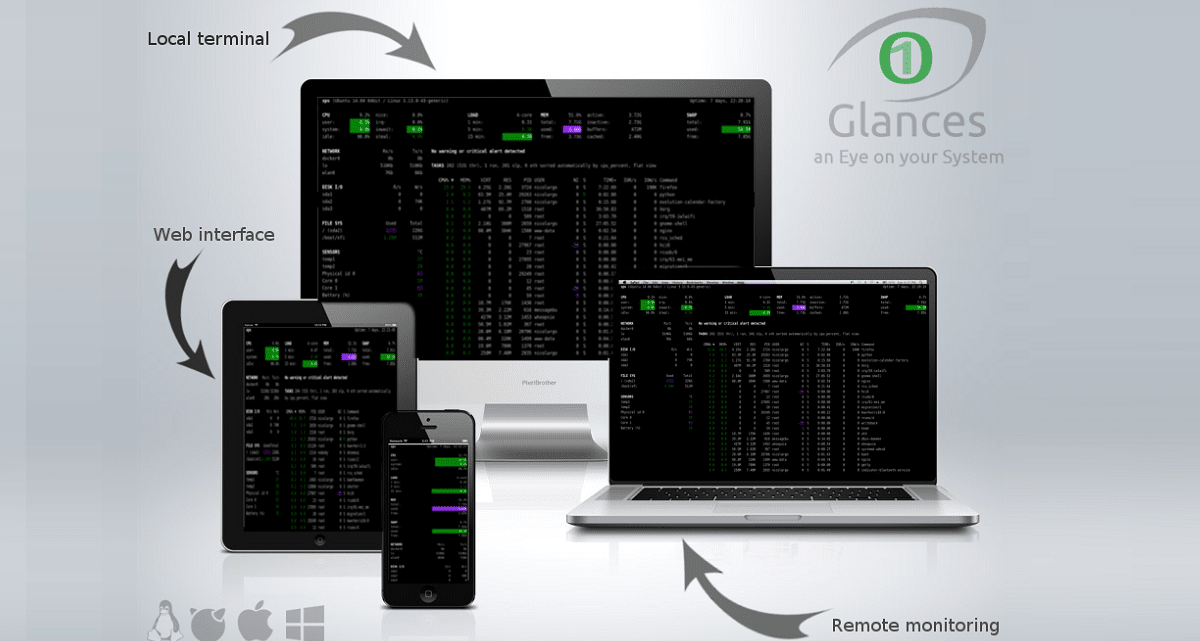
Glances uses the psutil library to obtain system information, plus it also offers the ability to use the utility in client / server mode for remote monitoring. For monitoring by this means, Glances provides us with a web interface.
Glances is quite similar to Nmon It has a very compact screen to provide a complete overview of the different system resources in a single screen area. It does not support any complex functionality, but only provides a brief overview.
From the information that Glances provides us, it is the following:
- Memory information including RAM, swap, and free memory.
- The average CPU load of your system.
- CPU information, such as user-related applications, system programs, and idle programs.
- Total number of active and sleeping processes.
- Download and upload the rates for your network connections.
- Disk I / O to read and write details.
- Displays the currently mounted disk devices.
- Displays the current date and time at the bottom.
How to install Glances on Linux?
For those who are interested in being able to install this utility on their systems, they can do so by following the instructions we share below.
Those who are users of Debian, Ubuntu or some derived distribution of these, you can install Glances from your distro repositories.
For this just open a terminal on your system and type the following command:
sudo apt-get install glances
Now for those who are users of RHEL, CentOS, Fedora or some other derived distribution of these, the installation can be done with one of the following commands:
sudo yum install glances
O
sudo dnf install glances
While for who are they Arch Linux, Manjaro, Arco Linux or some other Arch Linux based distro users, the installation is carried out with the following command:
sudo pacman -S glances
Finally We can also perform the installation of glances in a fairly simple way in any distro, it is enough with download and run an installation script thatthat they provide us from their repository.
The script basically what it does is perform the glances installation with the help of pip, so it will first install the necessary dependencies and then install the application.
The script is quite practical since it saves us from having to type several commands. To obtain the script, just open a terminal and in it we type:
wget -O- https://bit.ly/glances | /bin/bash
O
curl -L https://bit.ly/glances | /bin/bash
Or for those who prefer to carry out the process directly:
pip install glances psutil
And we install the necessary dependencies, along with the packages for the execution of the web service:
pip install glances[action,browser,cloud,cpuinfo,chart,docker,export,folders,gpu,ip,raid,snmp,web,wifi]
Basic use of glances
Done the installation To start using the utility, just run the command:
glances
Glances, has quick access keys, which are:
- m: Sort processes by MEM%
- p: Sort processes by name
- c: Sort processes by CPU%
- d: Show / hide disk I / O statistics
- a: Automatically sort processes
- f: Show / hide filesystem statistics
- i: Sort processes by I / O speed
- s: Show / hide sensor statistics
- y: Show / hide hddtemp stats
- l: Show / hide records
- n: Show / hide network statistics
- x: remove warnings and critical logs
- h: Show / hide help screen
- q: Exit
- w: Delete warning records
Also has color codes:
- Green: ok
- Blue: Caution
- Violet: Warning
- Red: critical
And by default, Glances thresholds are set to:
- Caution: 50
- Warning: 70
- Crit: 90
While to use the web service just run the command:
glances -w
And we access our server from a web browser using port 61208.
http://tuip-o-url:61208
Finally, if you want to know more about it and consult its documentation, you can go to following link
what a fart that they have put an installation script behind a bit.ly the truth ...