
First screen of the form creation wizard in LIbreOffice Base
Form creation is one of the best features database programs. In a previous article We saw the use of tables as information containers. Forms are the most convenient way to enter it. Since this series of articles is introductory, we focus on the use of wizards.
The assistants work with certain predefined but easily modifiable parameters. But, if we need something more specific, we will have to create a database from scratch. That will be part of another series of articles
Important clarification
In the previous article, you had assigned the ActiveID field the Automatic completion option. For some reason that gives an error message. In order not to block the continuity of the posts, I deactivated that option and modified the wording of the article.
The creation of forms. Thinking about comfort.
Many people use databases in their daily activities. Most do with the limited functions of a spreadsheet program. Microsoft itself does not include any chapter on Access in the books published on Microsoft Office 2019. Nor does LibreOffice have current documentation. The last LibreOffice Base manual It is version 4.
It is true that, although minimal, the use of a database program requires some theoretical knowledge. No professional user, much less an amateur not passionate about computing, usually takes the trouble to acquire it. However, the time lost in learning how to use it is more than recovered later.

It is difficult to find up-to-date bibliography on database handlers. LibreOffice does not update it from version 4. As for Microsoft, most of it is from the 2013 version of Access
Creating forms using the wizard
A form can have different shapes. The simplest form is the table.
In a table:
- Each field corresponds to a column.
- Each record corresponds to a row.
- The top row is reserved for identifying the fields.
When we finish, the table creation wizard offers us the possibility of entering data directly in the table or creating a form. After choosing the corresponding option, click on Finish.

The table creation wizard allows us to access the form creation wizard
To access the form creation wizard we must click on the corresponding icon in the database program window.

We can launch the forms wizard from the corresponding section of the main window.
In tables and queries swe choose the table On going

On this screen we choose a table and the fields from it that we are going to add to the form
Click on the double arrow to copy all the fields to the left column. Click on Next.
The following screens are used when we are going to enter data into related tables. For the moment we are going to ignore them. Click on Next.
Form aesthetics
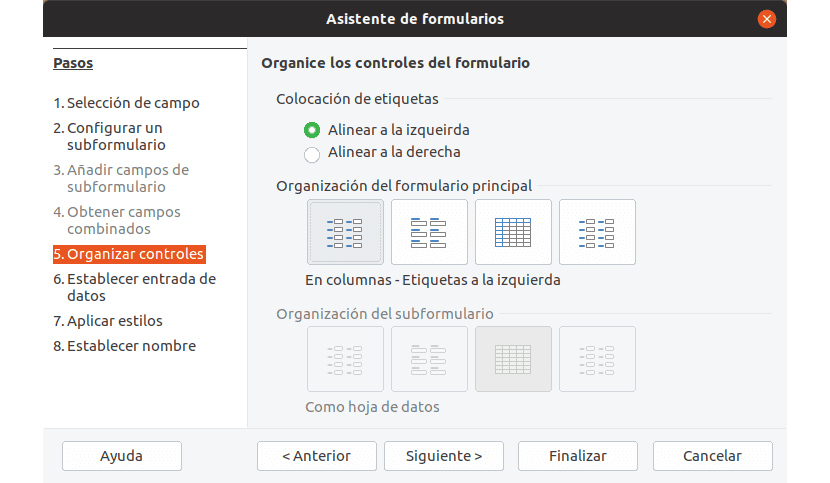
In this screen we can determine the alignment and arrangement of the fields of a form.
Now we can choose the layout of the form controlso.
We call control of the form to each of the fields to be completed and to the label that identifies it. We can choose two alignment options; right and left.
In terms of layout, the options are:
- In columns, with labels on the left.
- Arranged in columns, with labels at the top, as data sheets.
- Grouped in blocks, labels go up
Once this is determined, click Next to go to the next screen.
The following parameter determines whether or not the data previously entered can be viewed from the data entry form.

To protect the data entered, this window allows us to establish certain restrictions
In the event that the answer is no, we can adopt certain measures to prevent modifications. These are.
- Prevent the modification of the data already entered from the form
- Do not allow the addition of new data
- Make it impossible to delete existing data.
Click on Next to go to the next screen
A form must be pleasing to the eye. This is not superfluous, the easier it is to view a form, the more certain it is that the data is entered correctly.
Therefore, the penultimate screen is dedicated to choosing a border color and shape.

A combination of dark colors and 3d borders will make a form easier to see.
When we finish choosing, click on Next.
At the end, we give it a name and we can start working with the form.

The last screen allows you to name the form, correct errors or start using it.
I realize that I am lengthening this more than a soap opera with a large audience. Bear with me, we are going to get to the fun part, but first you have to lay the groundwork.