
PulseAudio is a multiplatform sound server with the ability to operate over the network. PulseAudio is intended to be a replacement for the Enlightened Sound Daemon server., this sound server found within many of the Linux distributions where most changed Alsa for him.
After I have installed and configured Voyager 16.04 GS on my desktop computer, I was in the last settings so I can sit down and have a game of RE6 peacefully when I am encountering the following error "Home directory not accessible: Permission denied".
Strangely I had audio, the problem could be put aside, but unfortunately I wanted to enjoy music too, so my Spotify client was not playing any audiothat's when I had to put my hand to solve this.
If you are here it is because you have the same problem, since the audio icon was only in "Mute" and I couldn't turn off this state of the audio, in other cases they just didn't have audio.
Check audio settings
The first thing I did was go to the audio settings, which in this case pavucontrol is the one who takes care of it, but I got this answer.
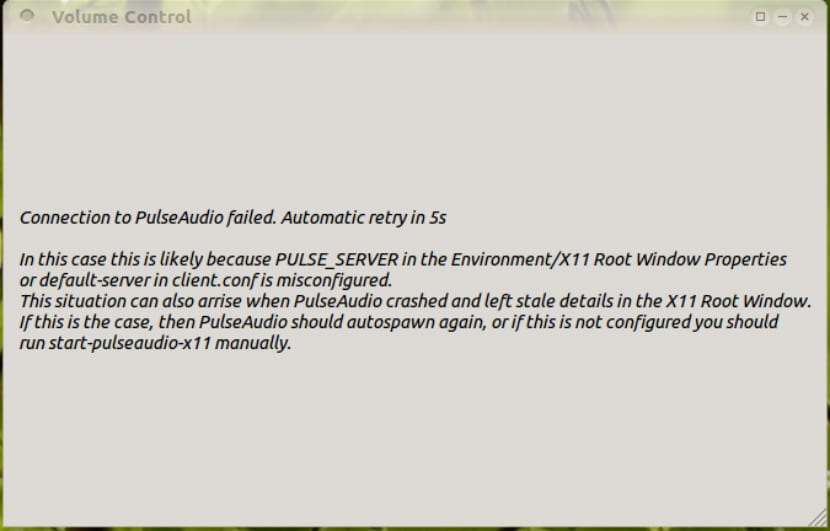
One of the simplest solutions, it is simply starting the pulseaudio daemon, since it is stopped, for this we must open a terminal and execute the following command:
sudo pulseaudio --start
In my case I got the following response:
Daemon not responding.
If we realize in himto image they recommend me to execute the following command, so this is another solution:
start-pulseaudio-x11
Unfortunately I did not get a positive response, I got the following:
E: [pulseaudio] main.c: Daemon startup failed
The problem persisted, then I proceeded to reinstall pulseaudio:
Reinstall Pulseaudio
To do this, fill in the following commands:
sudo apt-get purge pulseaudio

sudo apt-get clean

sudo apt-get autoremove

rm -r ~/.pulse ~/.asound* ~/.pulse-cookie ~/.config/pulse

sudo reboot
Here the computer is going to restart, after the restart I opened a terminal again and installed pulseaudio again:
sudo apt-get install pulseaudio pavucontrol
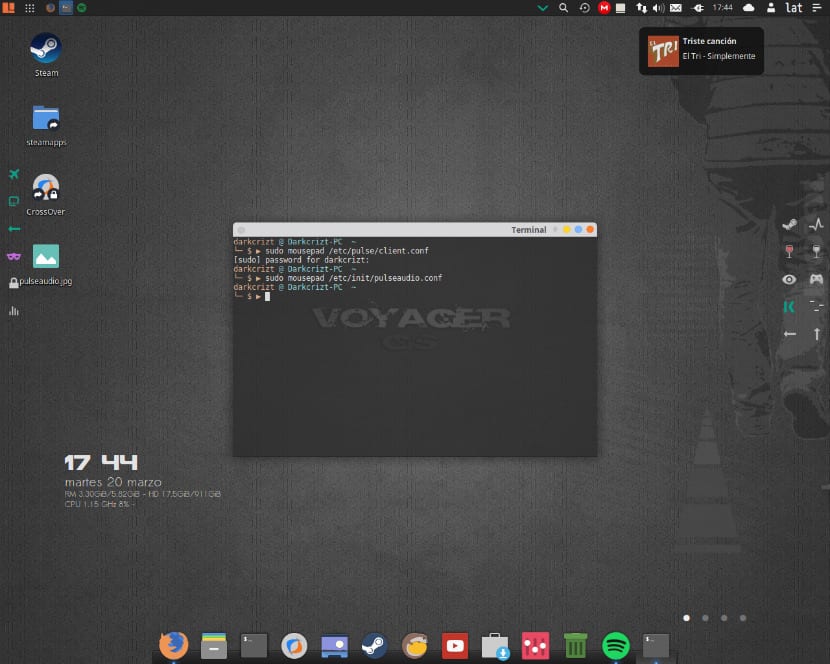
Within of the solutions I found on the net, we must edit the following file:
sudo nano /etc/pulse/client.conf
And then look for the following line, autospawn =, whatever it contains we delete it and it should look like this:
autospawn = yes
We just have to start the daemon again, in theory it should work, but in my case not,
pulseaudio --start
I got the following response:
E: [pulseaudio] core-util.c: Home directory not accessible:
 Permission denied
 E: [pulseaudio] main.c:

Failed to kill daemon: No such file or directory
Check permissions
Now not only did the demon not start, but now he did not have the permissions. Now I had to proceed to solve the permission problem, for this we must execute the following in a terminal.
The first is make sure that our user has access to the audio group To do this, we just have to execute the following command:
sudo usermod -aG pulse,pulse-access tuusuario
Where you replace your user with the user you have in the system, in my case it looks like this:
sudo usermod -aG pulse,pulse-access darkcrizt
I tried again:
pulseaudio -start
I get the same result, the last resort I used was to fix the permissions to my Home directory, I just proceeded to change my folder permissions as follows:
sudo chown username /home/username

chmod 755 /home/username
Other acceptable permits include 750 or 700.
It is not recommended to use the -R option although all folders and files within the $ HOME folder are normally owned by the user, the only folder that needs to have the property modified to eliminate this error is the $ HOME folder.
We can run this command as "sudo chown -R username: username / home / username" if you want to make sure that everything in your home folder belongs to you and your user group.
Now I just logged out of the system and started it again, I tried one last time:
pulseaudio --start
With a positive result, the audio of my system was already enabled and with an improvement in the audio. If any of these solutions was useful, do not hesitate to share it with us.
Excellent, after several tutorials, this was the only one that helped me, thanks and greetings from Argentina.
Cool! after much searching I used this help and it worked for me! Thank you
You saved my life !!! Thank you
I had the same problem using Ubuntu 18.04. Suddenly the sound disappeared and nowhere could I find the solution, I tried many things and only this tutorial worked for me, thank you very much and congratulations, thank you for sharing.