
We have talked here on the blog about some cloud storage platforms or services, of which some of them are by third parties and others are the ones that you can configure and take your computer as a server for this.
Day today we are going to talk about Seafile which is an excellent platform that will allow you to use your server to create your private file service in the cloud.
About Seafile
Seafile is an enterprise file hosting platform with high reliability and performance.
This tool it will allow you to place files on its own server and to be able to synchronize and share the files on different devices or even access all the files as a virtual disk.
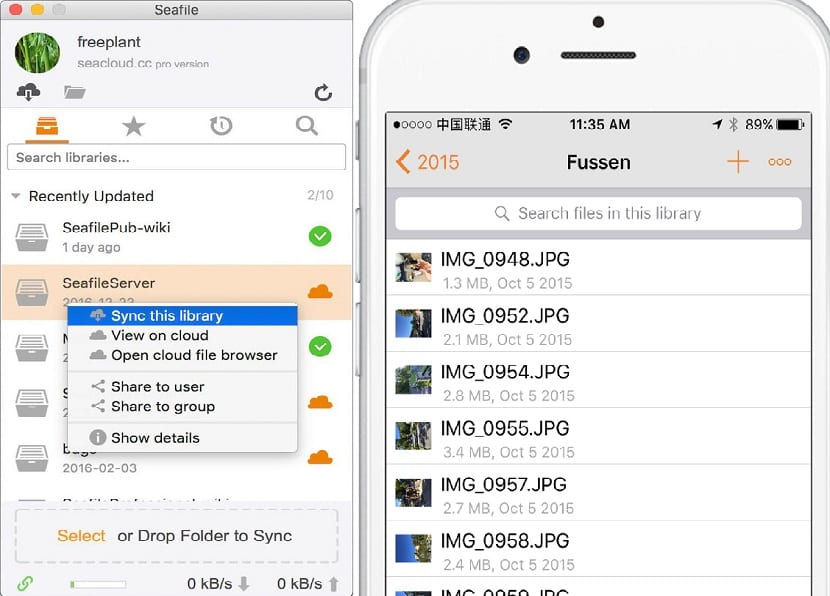
One of the features that may please those who want to try this tool is that Seafile organizes files in libraries.
Each library can be synced to any desktop computer, including Windows, Mac, and Linux.
The user you can also selectively sync any folder so unsynchronized files can be accessed through a feature called "cloud file browser".
Seafile has fantastic file syncing performance. Tens of thousands of small files can be synced in one minute.
Libraries and folders can be shared with users or groups, with read-only or read-write permissions.
Detailed permissions can be set on subfolders after sharing a folder, whereby files can be shared with external users via shared links.
Shared links can be protected by passwords and support, setting an expiration date.
How to install Seafile on the different Linux distributions?
Due to the number of different types of Linux server operating systems out there, the developers have chosen to create a generic "Linux installer".
To configure Seafile on Linux they just have to open a terminal and use wget to download the latest stable package.
Si are users of 64-bit systems must download the package with the following command:
wget https://download.seadrive.org/seafile-server_6.2.3_x86-64.tar.gz
While for those who are users of 32-bit systems install with:
wget https://download.seadrive.org/seafile-server_6.2.3_i386.tar.gz
After obtaining the server software, you will need to extract the file in which it is packaged.
tar -xvzf seafile-server _ *. tar.gz
Now we must enter the folder that was created when unzipping, if it was the 64 bit file enter with:
cd seafile-server_6.2.3_x86-64
or if it was the 32-bit they enter with:
cd seafile-server_6.2.3_i386
As mentioned above, the Seafile server software is a generic installer.
Rather than packaging multiple Linux distributions, the developers have included several different shell scripts that the user can run to get everything working.
Configuration
First we are going to start by executing the following command:
sudo sh setup-seafile.sh
The first part of the process is naming your server Seafile. Then dThey must specify the IP address of the server.
Once you have indicated the IP address, now the script will ask you to specify where Seafile should save all the data that it synchronizes.
By default, this directory is ~ / seafile-data.
For most users, this will do. If you want to change it, specify the path to the location in the installer.
Si you want to change the port default in which the server software operates, andThe options below will allow you to do so. Otherwise just hit enter and continue.
When the server software has been installed and configured, the script will print the IP, server name, port, etc. and will ask if "this is okay."
With that Seafile is installed. To run the server, do the following:
./seafile.sh start
To stop the server, just run:
./seafile.sh stop
To restart the server, do it with this command:
./seafile.sh restart
Now for the synchronization client, they should only go to the official website of the application and download the client for the system where they want to install it, it also includes for Android and iOS.