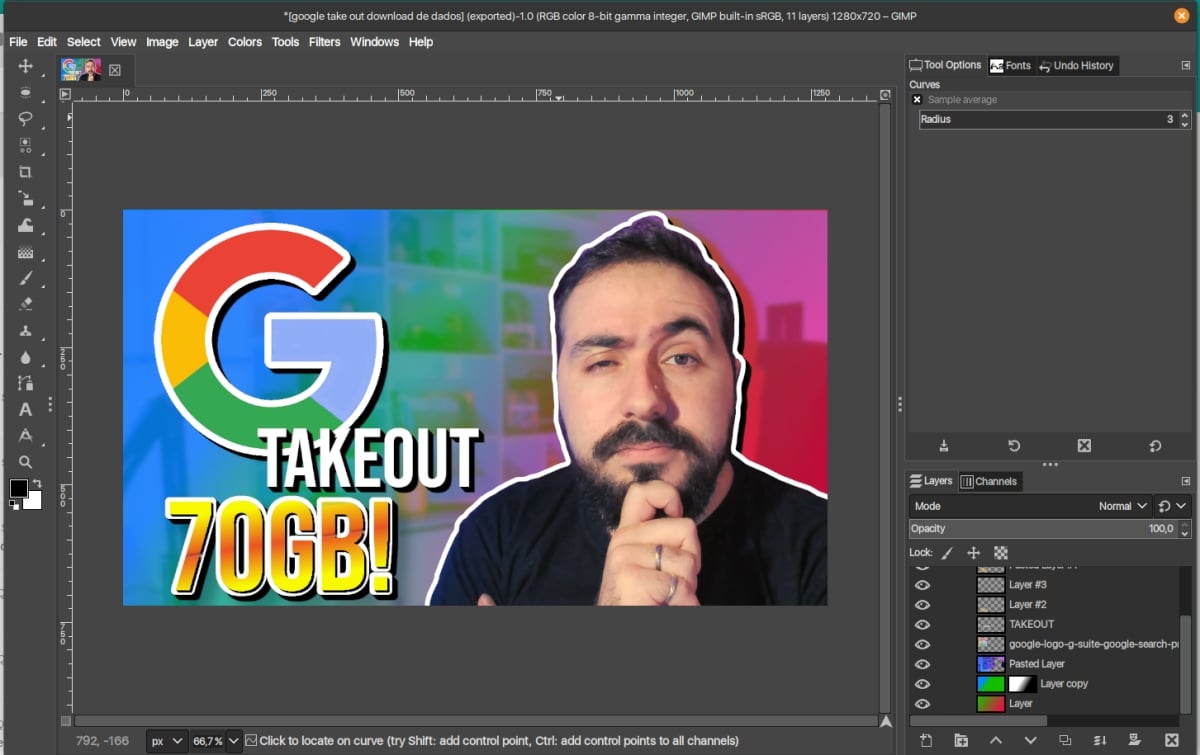
Photoshop is the most popular image creation and editing application. You just have to listen / read a popular language in which you say "chop" to edit an image. But, as you all know, there are also equally powerful and free options like GIMP. The main problem that we find when using GIMP is that, probably, we are used to the Photoshop interface, which is why a mod or patch has recently been born that they have baptized as photoGIMP.
As we read in its official page on GitHub, PhotoGIMP is a simple patch for GIMP 2.10+ that is designed to make things easier for Photoshop users. In summary, as you can see in the header image, once applied we will see that our GIMP has come to have an interface almost traced to that of Photoshop, although it must also be recognized that the latest versions of GIMP already they have taken a step forward in this sense.
PhotoGIMP is a patch to help Photoshop users
What this patch does is the following:
- Organization of tools to mimic the position of Adobe Photoshop.
- Hundreds of new default fonts.
- New Python filters installed by default, such as "curate selection".
- New welcome screen.
- New default settings to maximize space on canvas.
- Shortcuts set for the like in Photoshop, following the Adobe Documentation.
- New icon and name of custom .desktop file ..
- The new default language is English (although it can be changed from the preferences).
How to install
The problem is that the installation of this patch is not the easiest in the world. Its developers advise that it is intended for the Flatpak package, but that they are "only files" that can be used in any version of GIMP, which includes the DEB package, the RPM, the Snap and AppImage versions or the Windows and macOS versions. . For these packages, the only instructions we have are «just check the location of the GIMP files on each system / package«. For the Flatpak version, you have to do the following:
- First of all, we have to have the Flatpak version of GIMP installed. We can search for it in our software center or access this link.
- Inside the ZIP that we downloaded from this link there are three hidden folders, which in Linux means they have a period in front of them and can be shown with a keyboard shortcut, or so it usually is. These three folders have to be extracted in our personal folder (/ home / user).
- If the same files are already present, we overwrite them. That is, in theory, everything.
The file downloaded in step 1 has the directories .icons, which contains the PhotoGIMP icon, .local, which contains the custom .desktop file, and .var, which contains the flatpak patch with customization for GIMP 2.10+. If we want GIMP to keep its icon, we just have to extract the .var file to our home directory.
Personally, I've gotten rid of Photoshop a long time ago and have gotten used to GIMP, something that helped that it stopped presenting itself in three different windows and the last implemented options that allow us to have the left panel more organized. But surely PhotoGIMP is a good option for many users. Are you one of them?