The time has come to finish enumerate configuration parameters Mautic. We are talking about the marketing task automation platform. Mautic is open source, can be hosted on our own server, and is a very competitive alternative to commercial services.
More Mautic settings
Form settings
Forms are the foundation of any marketing campaign since unless you have a contact database, they will be the tool to build it. In this section there is a single configuration parameter
Do not accept submission from these domain names: In recent years, many temporary email services have appeared that are used by those who want to download content without the obligation to receive additional information (I am one of those who do). With this option we can block some addresses or an entire domain.
Segment settings
Also here we only have one parameter for the segments. A segment is a grouping of users by a certain characteristic. For example, Ubuntu users under 40 years of age.
Show warning if segment hasn't been rebuilt for X hours: One of the characteristics of Mautic is that it can update the segments without our intervention and send us a message in case it cannot. This parameter marks how long you should wait before sending us the warning message.
Landing page settings
As we explained earlier, landing pages are mini websites where the contact finds a form, a short description, or a download button.
We can control two options:
Show category in page URL ?: Determines if the category associated with the landing page is displayed.
Analyticsscript: Add script to track visits to the landing page and activity on other platforms such as Google Analytics
Tracking settings
Here we can activate options to receive information about the operation of the campaign
tracking code: Provides code that can be added to an external page so that Mautic can monitor its performance.
Identify visitor by tracking URL: Activate contact tracking after the contact clicks a link in an email on a device where no cookie exists.
Anonymize IP: Hides part of a user's IP to comply with regulatory bodies.
Identify visitors by IP: Assign the IP to a contact, even if it is someone else.
Report settings
In this section we determine if double quotes are activated to indicate values when data is exported in CSV format
Text Message Settings
It is required to have an account in an external gateway (Although some have free plans, it is usually charged by volume)
Select default transport to use: The shipping service is selected once it has been set up.
Login Settings (User / Authentication Settings)
Identity provider metadata file: Allows you to import data in XML format generated by an identification service provider.
Default role for created users: Allows you to assign the role that the user will have within the campaign management. The roles must have been previously created.
WebHooks Configuration
The subject of WebHooks is somewhat complex. To explain them quickly are automated changes in various parts of the campaigns.
queue mode: Determines if changes are made immediately or scheduled.
Order of the queued events: Sets the order of execution of the changes. They can be in chronological or reverse chronological order.
Social Settings (Social Settings)
Twitter HandleField: It allows the monitoring of activity on social networks.
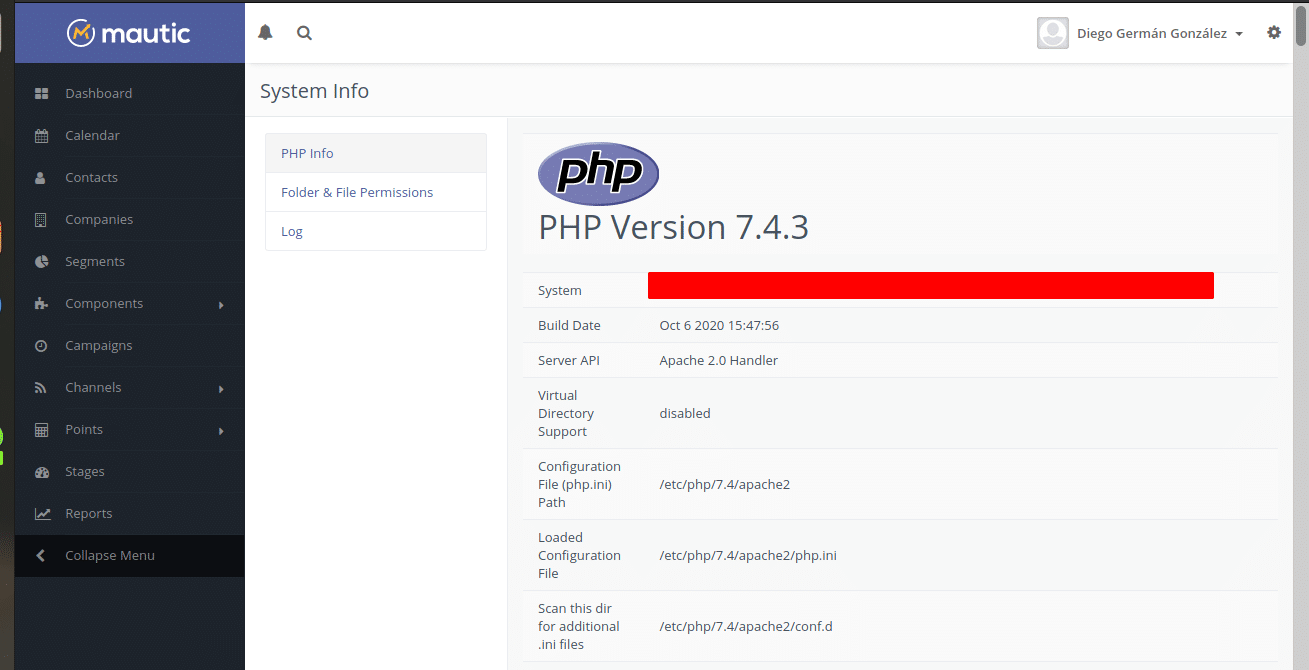
With this item we finish the enumeration of the configuration options. The next item in the menu is system information that lists the PHP version, the directories used, and the error messages. In the next article we will talk about creating users, roles and events.