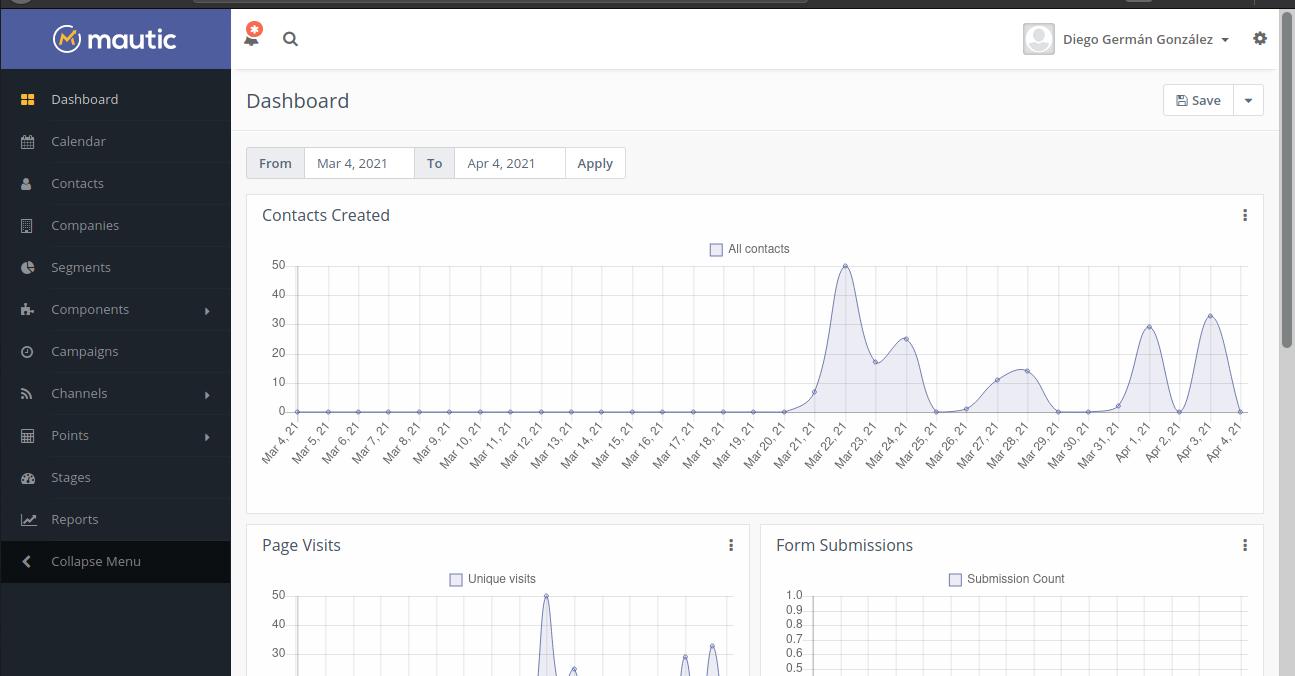
I'm still with this long series on the installation and use of mautic, a comprehensive solution for marketing automation tasks.
Like many open source projects, Mautic is highly versatile and configurable. But, like many open source projects, the documentation is written by developers for developers and not for end users. Finding your way to the next step requires a lot of googling (it's all about making multiple open source projects work together) hence, it takes so long to continue with the article series.
But, once Mautic is configured, the saving in time and above all in costs more than compensates for the installation effort.
Mautic on your server. The two options
We are installing Mautic on a virtual private server running Ubuntu 20.04. We have two options:
- Install Mautic as a single site on the server.
- Install Mautic alongside other websites.
I use the word site for convenience as Mautic runs from the browser.
Most likely, if you are reading this, you don't have the volume of work necessary to justify Mautic monopolizing all the VPS resources. Anyway, what changes is the working directory.
Remember that you need to have a domain contracted and pointed to the virtual private server. When mydomain1 appears in the command, you must replace it with that domain.
In case of a multisite option the working directory is:
/var/www/midominio1.com/public_html
For single site:
/var/www/midominio1.com/public_html
Downloading Mautic
Mautic constantly launches new versions, to know which one to install we have to go to this page and see which is the latest stable version. Take note of the version number and replace it with the letters X, Y, Z of the command below.
Let's go to the working directory
ce /var/www/midominio1.com/public_html In case you have chosen the multisite option
O cd /var/www/html for single site.
sudo wget https://github.com/mautic/mautic/releases/download/X.Y.Z/X.Y.Z.zip

sudo unzip X.Y.Z.zip
The first command unloads Mauitic and the second unzips it
Now we delete the downloaded compressed file since we don't need it anymore.
sudo rm 2.15.3.zip
The next step is to get permissions to configure the files
For multisites:
sudo chown -R www-data:www-data /var/www/midominio1.com/public_html
sudo chmod -R 775 /var/www/midominio1.com/public_html
For single site:
sudo chown -R www-data:www-data /var/www/html

sudo chmod -R 775 /var/www/html
Now we have to tell the Apache server how to find each site. This is done by creating a configuration file with this command:
sudo nano /etc/apache2/sites-available/midominio1.conf For multisites
o
sudo nano /etc/apache2/sites-available/000-default.conf
With the corresponding modifications, paste the following text:
ServerAdmin tucuenta de mail

ServerName tu nombre de dominio

ServerAlias www.tu nombre de dominio

DocumentRoot /var/www/midominio1/public_html o www.var/www/html

ErrorLog ${APACHE_LOG_DIR}/error.log

CustomLog ${APACHE_LOG_DIR}/access.log combined
Save by pressing CTRL + X
Test the configuration with
apachectl configtest
Only for multi-sites:
We activate the new site with:
sudo a2ensite midominio1.com.conf
We deactivate the default directory
sudo a2dissite 000-default
We restore the server (Single site and multisite)
sudo systemctl reload apache2
If you've ever entered a site that didn't have a home page, you will have seen that it listed the content of its directories. This is a security risk as it allows cybercriminals to browse the web server looking for weak spots to exploit.
Another drawback is that it is ignored .htaccess. It is a customizable configuration file for each hosted website, server behavior.
Write this command:
sudo nano /etc/apache2/apache2.conf
You will see something like this:
Options Indexes FollowSymLinks

AllowOverride None

Require all granted
Modify it for this:
Options FollowSymLinks

AllowOverride All

Require all granted
Save with CTRL + X
Restart the server with:
sudo systemctl restart apache2
In order to write the .htaccess file we have to enable a module called mod_rewrite
sudo a2enmod rewrite
We restart the server again with:
sudo systemctl restart apache2
In the next article we are going to create a database, install Mautic and get the security certificate that modern browsers require to access a page.