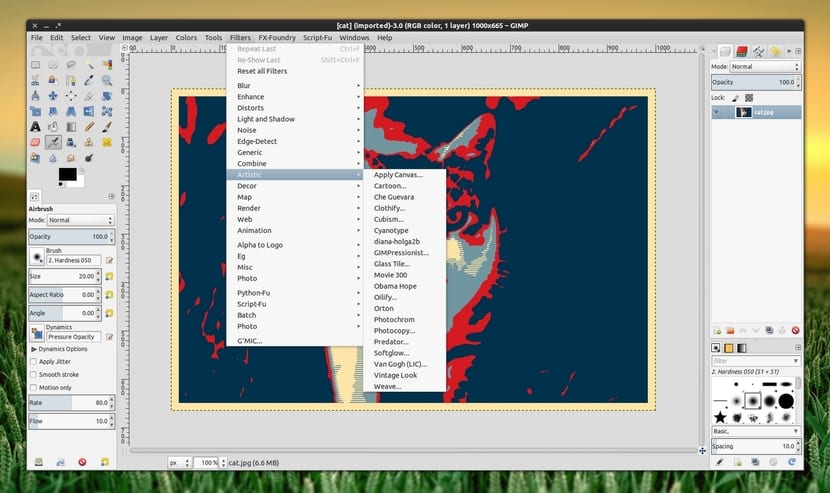
GIMP is a fantastic image editor that has little to envy the Photo Shop itself, with quite similar and professional tools. So much so that some professionals have decided to use this program as a good alternative to PhotoShop, even on Windows or other platforms. In addition to its flexibility and power, GIMP also has another advantage: it is free and free, compared to the expensive license that its proprietary competitors usually have.
Another advantage of GIMP is that you can extend your capabilities beyond those that are already standard and that is due to the fact that extensions that expand the functionalities, new pugins and also filters can be included to have more effects and artistic brushes. For this we can install all these tools available for this we can install or compile them as I am going to explain in this article, once we have the GIMP program installed on our system.
Assuming that you already have GIMP installed on your system, that you can do it by downloading and installing it on your own in its latest version that you can find on the official website of the project or using the package managers of your distribution to easily install the version available in the repositories. Once done, to add from repositories for extensions / plugins we can do it like this (depending on our distribution with one of these commands):
<br data-mce-bogus="1">

sudo apt-get install gimp-plugin-registry<br data-mce-bogus="1">

sudo yum install gimpfx-foundry<br data-mce-bogus="1">

sudo dnf install gimpfx-foundry<br data-mce-bogus="1">
Instead, if we want to compile, We will have to have installed a series of dependencies such as for Debian and derivatives:
<br data-mce-bogus="1">

sudo apt-get install build-essential libgimp2.0-dev git<br data-mce-bogus="1">
And for CentoOS / RHEL and derivatives:
sudo yum group install "Development Tools" gimp-devel git
And then, whatever the distro, we must clone the git repository, for example, for this case:
<br data-mce-bogus="1">

git clone https://github.com/nombre/del/proyecto/en/git.git<br data-mce-bogus="1">

cd nombre-directorio-clonado<br data-mce-bogus="1">

make<br data-mce-bogus="1">

make userinstall <br data-mce-bogus="1">

sudo make install<br data-mce-bogus="1">
Regarding the textures, we can also get hold of them by performing the following steps ...:
<br data-mce-bogus="1">

cd /tmp/<br data-mce-bogus="1">

wget https://github.com/nombre/dirección/textura/nombre.tar.bz

cd ~/.gimp-*/

tar xvf /tmp/nombre.tar.bz
And once unpacked, you must go to GIMP and from the Filters menu, you can access it.
Gimp is a huge program, however to get its full potential you have to study a guide or mini-course to understand it well. Greetings, very good article.
How can I install the gimp plugin registry on linux? I'm trying to learn the gimp already out, about being able to delete things from the photo and I don't have the plugin installed. Thank you to the informant.