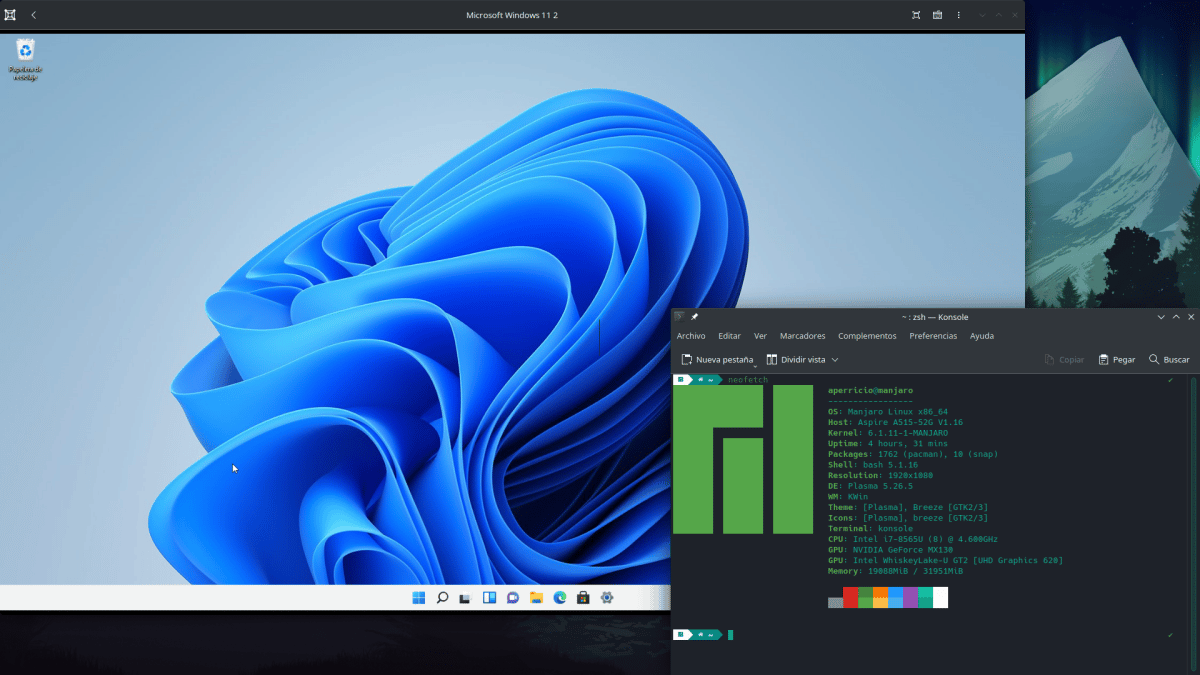
For many years now I have been more comfortable in Linux than in Windows; I feed macOS separately, not because I hate it, but because right now I don't see it as necessary to pay everything they ask for a Mac. But the truth is that sometimes I need something from Windows, or it's not a necessity, but something that I want to do on the Microsoft system, like testing that my own application works on Windows. Until 10, everything was easier, and installing it in a virtual machine wasn't much of a mystery, but everything changed when they released Windows 11.
The 11th version of the Windows system asks for some requirements that make things quite difficult, to the point that you have to change a whole piece of equipment because some cannot be updated. Part of the blame lies with TPM and the Secure Boot, two checks that Windows 11 does during an installation process that does not progress if we do not have a compatible computer. This also happens in virtual machines, but here we are going to teach you how to "bypass" these checks to install Windows 11 on a virtual machine to run on Linux.
Windows 11 in a virtual machine
The secret is in the words "by pass" or bypassing what prevents us from installing Windows 11 as we would with Windows 10 or earlier. Would the steps to follow look like this?
- We got an ISO image of Windows 11. You can get a legal one from this link.
- We start GNOME Boxes or VirtualBox. The important steps to allow the installation are the same in both cases.
- We start the creation of the virtual machine. In GNOME Boxes it defaults to 128GB of storage, and you shouldn't need that much. The minimum RAM should be 8GB, but that can also be bypassed. At this point we leave you what we think will go well, and that also depends on the hardware of our equipment. I, with 1TB of storage and 32GB of RAM, have left those 128GB of hard disk (which it takes up if it fills up) and 12GB of RAM.
- On the screen where it tells us to start the installation, press Shift+(Fn)F10, which will open the command prompt.
- We write "regedit" without the quotes, which will open the registry editor.
- This is what is important. We have to create a folder and 3 entries.
- We go to HKEY_LOCAL_MACHINE/System/Setup, secondary click on that folder and create a key (folder) with the name Labconfig.
- We click on that folder.
- On the right, we right-click/New/DWORD Value (32bits) named BypassTPMCheck. Then we right click on that value, select modify and give it a value of 1.
- We repeat step 3 two more times, but once with BypassRAMCheck and another with BypassSecureBootCheck.
- Now yes, we start the installation and follow the instructions that appear on the screen as we have always done.
Additional steps in VirtualBox
If we have installed Windows 11 in VirtualBox, which is a better option than GNOME Boxes for some, but also requires more installations and more steps, when starting any operating system it does so in a very small window, but that can be solved by installing the Guest Additions. And to access all the hardware, such as the USB ports or the webcam, you need to install the Extension Pack. That is better explained in this link.
Installing Tiny11
If those 128GB of storage, 12GB of RAM and the TPM give you some respect, there is another option. Is called tiny11, and it's a Windows 11 that a developer has created by basically removing software from it and preparing it to work on more discrete computers. Is available in Internet Archive, but its developer improves it over time. The latest version is already based on Windows 11 Pro 22H2 and promises to run on just 8GB of storage. It has a price, and it is that by default it does not even have Microsoft Edge installed, but it can be fixed by installing Firefox from the Microsoft Store.
Tiny11 has Windows 11 checks turned off, so It will not ask us for certain minimum requirements nor will you verify that our team supports TPM 2.0.
Whatever is chosen, in my tests I have been able to verify that Windows 11 behaves better than Windows 10, at least in GNOME Boxes. And if I need to do some testing in Windows, by doing what is explained here I don't need to leave my favorite Linux.