Some time ago we have been writing a series of articles on how to install mautic, a comprehensive solution for marketing automation tasks. Although the configuration is a bit cumbersome, in the long run it ends up compensating in flexibility and costs to proprietary turnkey solutions like Hubspot.
Setting php and Maria DB
The next step we have to do (although in the title I have put them in reverse order) is the configuration of the database.
sudo mysql -u root
You can change root for the user you want. In the window that opens
CREATE DATABASE mautic DEFAULT CHARACTER SET utf8 COLLATE utf8_unicode_ci;
In the line that follows, change the word password the password you prefer.
GRANT ALL ON mautic.* TO 'root'@'localhost' IDENTIFIED BY 'contraseña';
FLUSH PRIVILEGES;
EXIT;
Since databases are a favorite prey of cybercriminals, we need to take some safety precautions. We do it by launching a script with this command:
sudo mysql_secure_installation
We will see the following:
Enter current password for root (enter for none):
Put the password you chose in the database configuration and hit Enter
Change the root password? [Y / n]
Press N to leave the current password.
Remove anonymous users? [Y / n]
Press Y to delete anonymous users.
Disallow root login remotely? [Y / n]
Press Y to disable access remotely.
Remove test database and access to it? [Y / n] and
Press Y to delete the test database and its access (I know it is redundant, but this is how the text appears)
Reload privilege tables now? [Y / n]
Press Y to update privileges
Configuring PHP
If you will start the installation wizard Mautic, you mark three errors:
- The time zone is not set.
- Insufficient memory limit.
- The web has no security certificate.
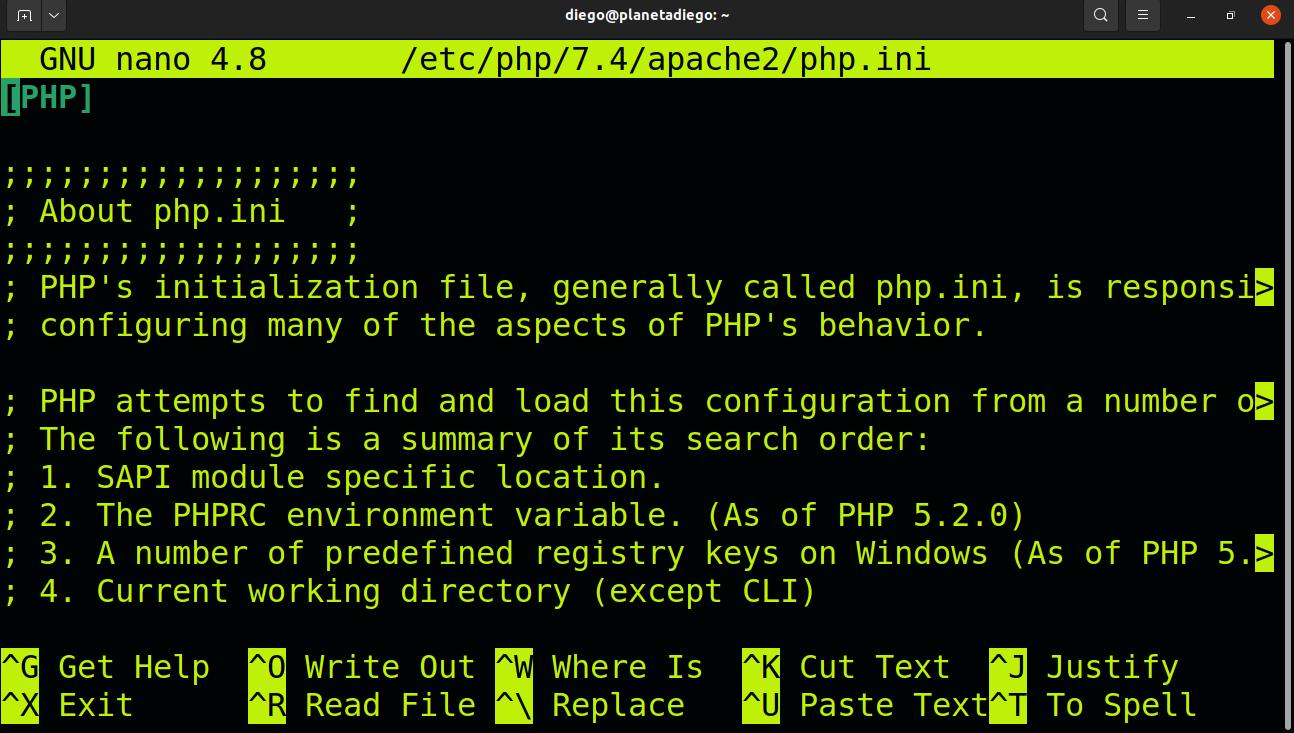
The first two things we solve modifying the php.ini file
sudo nano /etc/php/7.4/apache2/php.ini
With CTRL + W we search
date.timezone =
When I mark this line for you
; date.timezone = 'UTC'
Eliminating the semicolon and replaces UTC for your time zone. The list of supported time zones find them here
CTRL + W look for this line
; cgi.fix_pathinfo = 1
Change 1 by 0 and delete the semicolon.
To finish, press CTRL + W again and search
memory_limit
Put the value in 512. If there is a semicolon, delete it.
Save with CTRL + W
Getting the security certificate
Browsers are getting tough on security issues, luckily, we can access free of charge to a certificate to prove that our site is legitimate. Depending on the configuration of your hosting provider this can be done automatically or semi-automatically.
Automatically, a key is stored on the server and the certificate provider accessed and check that everything is correct. In the semi-automatic way you will have to put that key in your DNS so that the provider can verify it. Your hosting will give you instructions on how to do it.
The procedure is the next:
We install the application
sudo snap install --classic certbot
We create the symbolic link to function as if it were a native program
sudo ln -s /snap/bin/certbot /usr/bin/certbot
We launch the program to configure the server.
sudo certbot --apache
In case it gives you an error message, try this:
sudo certbot --manual --preferred-challenges dns certonly \

-d midominio1.com \

-d www.midominio1.com \
You see that shows an alphanumeric text and a title you need to add in your DNS as text records. Once you do. Press Enter and the certificate provider will verify that you own the site.
To finish you have to reconfigure apache to start the site in safe mode by default. You do it with:
sudo certbot --apache
Select the option to reinstall certificate.
Now you can open the browser and put your domain name. You will see the Mautic home page that tells you that everything is fine. You can now access the configuration file that must be completed with the following information:
 Database driver: MySQL PDO

Database Host: localhost

Database port: 3306

DB name: mautic

Database Table Prefix: Déjalo vacio

DB User: root

DB Password: La contraseña que pusiste en tu base de datos

Backup existing tables: No