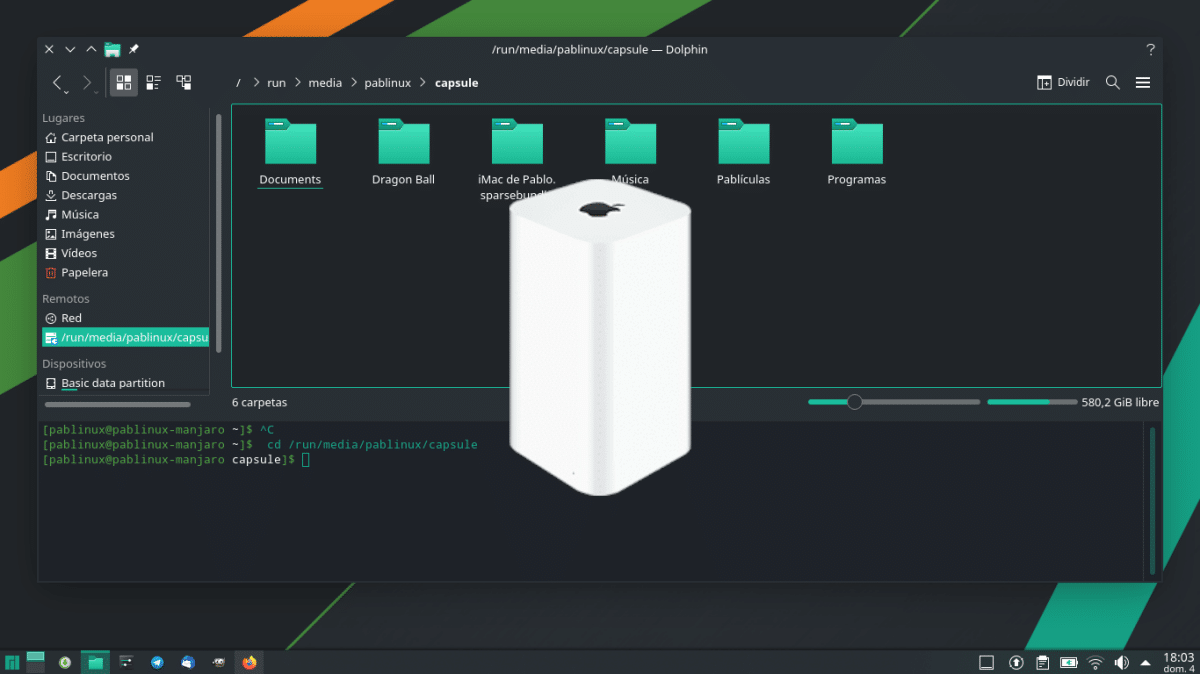
Many years ago, when I wanted to put the internet all over the house, have a hard drive to store everything, and I had my new Mac, I decided to buy a AirPort Time Capsule. It wasn't cheap, but all of the above had failed me, the apparatus It served me perfectly to have a good speed, it went far and I also used it to record my copies in Time Machine. Years later I started to go back to Linux, but some things are not so simple. How do I access those files from Linux?
Depending on the operating system, the path to achieve this is simpler or a little longer. For example, Ubuntu, which is available in 8 official flavors, has versions where everything works with a couple of simple commands and others that work differently. Here we are going to explain how to manage files of an AirPort Time Capsule from Linux, and it is tested in Ubuntu, Ubuntu-MATE, Kubuntu (not the same as in the previous two) and Manjaro in its KDE and GNOME editions.
Updated: what is explained here has stopped working after the release of Linux 5.15. For this to be valid, you must use an older kernel, with Linux 5.10 as the best option because it is LTS.
AirPort Time Capsule from Linux almost as if we had a Mac
- In all cases, you must have the package installed cifs-utils. If we don't have it, we install it.
- Once installed, we will mount the unit with these two commands:
sudo mkdir /run/media/$USER/airport
sudo mount -t cifs //192.168.0.xxx/Data /run/media/$USER/airport -o username=Pablo,sec=ntlm,uid=pablinux,vers=1.0
- It will ask us for two passwords, one for "sudo" and the other will be that of the AirPort Time Capsule. Once set, in seconds it will appear in our file manager.
This works on Kubuntu, Ubuntu-MATE and Manjaro KDE and GNOME. Although it should be mentioned that not all systems mount drives in the same folder. That command is that of systems like Manjaro; Kubuntu and Ubuntu MATE work without "/ run". The three Xs are not like that; there goes the IP of your AirPort. And "Data" is what usually appears. If it is not your case, change that too. And, well, Pablo is me and "airport" is where I have chosen to mount the unit. "Ntlm" is the security type and "vers" is the version of Samba you have to use.
If the above does not work for you, as will be the case with Ubuntu, for example, we have to follow these other steps:
- We get into the / mnt / folder (cd / mnt).
- We create the folder to mount the AirPort Time Capsule. The command is mkdir and for my example I have created airport (mkdir airport).
- Once the folder is created, we have to mount the drive. Not only that, but you have to force some parameters. The command would be the following:
sudo mount.cifs //192.168.0.xxx/Data /mnt/airport -o user=Pablo,sec=ntlm,vers=1.0,gid=$(id -g),uid=$(id -u),forceuid,forcegid
If you do not enter for a while, you can delete from "gid" to the end and try. This allows us to read, but not to write. Once entered once, we disassemble the unit with sudo umount / mnt / airport and we re-enter the complete command.
To consider
When dealing with commands, it's easy to screw up. We must insist that in the examples above are the name that I have chosen for the folder, with my username and others. It should also be mentioned that, for example, Ubuntu does not require us to create the folder once it has been created, but in Kubuntu it does ask it again every time we restart.
Furthermore, it is worth creating an executable text file with the commands and moving it to the folder / bin, so that later we can write a short command in the terminal and everything will be easier. What is behind the "-o" are options and there you can add the router password behind a comma, without spaces and with the style "password = PASSWORD", where "PASSWORD" is the AirPort Time Capsule password. It is NOT recommended to leave the key in a text file that "anyone" can see, but it is an option.
I hope this tutorial has helped you. I still remember when I managed to get in from Linux, and I hope I have made some ex-maquero happy.
mount error (1): Operation not permitted
Refer to the mount.cifs (8) manual page (eg man mount.cifs) and kernel log messages (dmesg)
root @ macfiles: ~ # dmesg
dmesg: read kernel buffer failed: Operation not permitted
?? ♂️?