
All the heterogeneous networks they are more common than we think. There are numerous companies, organizations and also many users who set up heterogeneous computer networks in their own homes to share data and services with each other. It is not the first time that we deal with the issue of heterogeneity, since the Samba package that we have talked about so much is a clear example of a utility that allows us to share and manage files between different Microsoft Windows and Unix operating systems using this protocol.
But on many occasions system administrators or users have to go much further and need somewhat more complex services and configurations than a simple file exchange between these operating systems, such as LDAP servers for logins, or managing a Microsoft Windows Distributed Network Service as it can be Active Directory, that without the help of the tool that we present to you today could be something more complex from your Linux distro ...
What is Active Directory?

If you don't know what it is AD or Active Directory, it is a Microsoft technology to implement directory service in a distributed network of computers. For this, it uses different protocols such as LDAP, DNS, DHCP and Kerberos, surely they all sound familiar to you, since they are quite popular. This fabric is established between several computers or servers that create and manage various objects such as users, computers, groups, passwords, in order to manage the logins of the computers that are configured in AD and belong to this network.
AD has a well-established structure, in hierarchical order and allows the sysadmins establish robust policies to be able to carry out remote management of the environments, apply updates to all computers, share folders and resources on the network, deploy programs on all computers on the network, etc., all in a fairly controlled and simple way It can be carried out from any machine, even a GNU / Linux distribution with the appropriate software as we are going to indicate in this tutorial, although there are other options.
How to install and configure LikeWise on Linux?
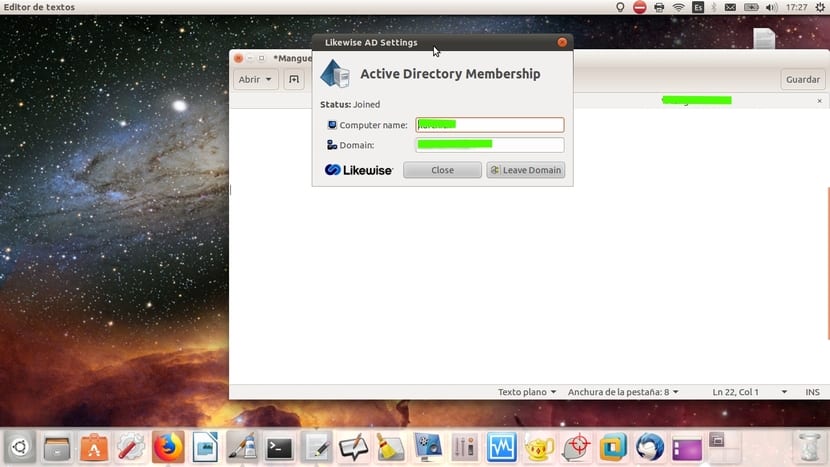
Likewise Open is an MIT application that can help you manage an AD from your GNU / Linux distribution. Likewise simplifies what is necessary to configure and authenticate a Linux machine within an Active Directory domain. For this, this software package makes use of some well-known tools such as the famous winbind package. This package also includes the well-known winbindd daemon, which surely sounds familiar to you since it is also used in Samba. Thanks to this daemon, you can manage this type of Windows network from your distro.
To install Likewise Open on your distro, you could use a tool like alien to convert the DEB package into another type of binary like RPM, etc., although I don't recommend it and that doesn't ensure that it works properly either. I say this because I have found some difficulties in certain distros to find this package, although it is true that in Ubuntu and CentOS I have not had any problems ... in fact, I will do the steps for Ubuntu.
To install the likewise-open package which is the name it receives, you will easily find it in the repositories of your Ubuntu distro, and with its package manager you can install it in a very simple way by executing the command:
sudo apt-get install likewise-open
Probably on distros Newer Ubuntu will have problems, and the package will not be found. Don't worry, you could look for an alternative like PBIS on GitHub, but I don't recommend that you search the web for a version of the DEB package, as it is not a reliable source…. But so you don't have to search, the easiest thing is to do the following, add this link to your browser and download the DEB package:
http://archive.ubuntu.com/ubuntu/pool/main/l/likewise-open/likewise-open_6.1.0.406-0ubuntu5_amd64.deb
And once you have it, you can run the following command again to install it and now you shouldn't have any problem:
sudo dpkg -i likewise-open_6.1.0.406-0ubuntu5_amd64.deb</pre>
<pre>
Now the package will be installed, we have everything ready to run and start using it. At this time we must comment with the setting for it to work properly on the network, and for this you must execute the following command in the terminal:
<span class="command">sudo domainjoin-cli join nombre-de-mi-dominio.es Administrador</span>
You substitute name-of-my-domain.es by the domain that you are using according to your case and Administrator by the name of the administrator account that is or of the user that we need. Once this is done you must restart your Linux distro (or simply restart the likewise-open service so that it recognizes the changes), you can do it from the graphical environment or through a reboot from the console, as you prefer.
Now, once you start, you could use a tty or also do it from the login menu which appears right during the startup of the desktop environment. This time, instead of entering your normal username and password as you normally would, you can enter the name or administrator that you previously configured like this:
nombre_usuario@mi-nombre-de-dominio.es
And you will also write the password that said user or administrator has within the Active Directory. After pressing the button to start session we will be inside, being able to manage what we need ...
I hope that the tutorial has helped you and you can manage your AD in an easier way from your GNU / Linux distribution. Don't forget to leave your comments, suggestions and doubts ...
If this tutorial deserves something, it is to leave it empty of comments ...
Well, if I could add the computer to the domain but when I wanted to start the session, I simply couldn't, I used the variants: DOMAIN \ user, user @ domain and finally only the user. With none I could enter. I am going to keep searching. THANK YOU
You have to type this in the terminal:
sudo / opt / pbis / bin / config DomainManagerIncludeTrustsList domain.lan
(assuming your domain is DOMAIN.LAN)
And if you only want to put the user, as in Windows, type this other:
sudo / opt / pbis / bin / config UserDomainPrefix DOMAIN
sudo / opt / pbis / bin / config AssumeDefaultDomain true
sudo / opt / pbis / bin / config RequireMembershipOf domain \\ users ^ from ^ domain
sudo / opt / pbis / bin / config LoginShellTemplate / bin / bash