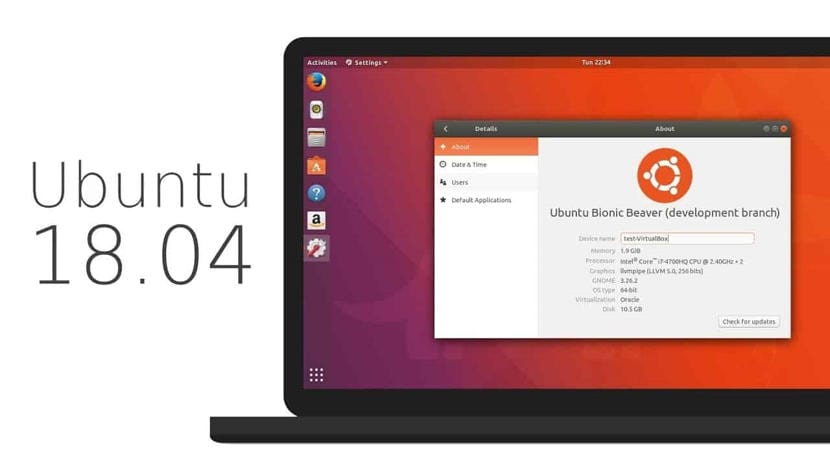
Many Gnu / Linux users start or use the Ubuntu distribution. This distribution is ideal for novice users and most LTS versions. This week Ubuntu LTS has been updated with the release of Ubuntu 18.04. This we already talked about it here and we have even told you how to install Kubuntu 18.04. But today we are going to tell you what to do after installing Ubuntu 18.04, the post-install call.
1. Update Ubuntu with the latest
The first thing we have to do is make sure that our system is up to date with updates, that there is nothing since we have recorded the ISO image until the day of installation. For that we open a terminal and write the following:
sudo apt-get update

sudo apt-get upgrade
2.Install the latest codecs
The next step we have to do is install codecs and other multimedia and web plugins for distribution, for this we open a terminal and write the following:
sudo apt-get install ubuntu-restricted-extras
3.Enable the minimize button.
The new Ubuntu desktop does not usually bring the minimized button by defaultTo enable it, we just have to write and execute the following in the terminal:
gsettings set org.gnome.shell.extensions.dash-to-dock click-action 'minimize'
4.Installation of Tweaks.
Personalization and administration is very important, that is why we will need install Gnome Tweaks or Tweaks, for this we write the following in the terminal:

sudo apt-get install gnome-tweaks-tool
5. Enable night mode on desktop
Ubuntu 18.04 brings with it the use of night mode, that is, the possibility of use the computer monitor without blue light. It is something effective and useful, its activation can be done by going to Settings -> Devices -> Screen.
6. Install the new Ubuntu 18.04 Community theme
Ubuntu 18.04 was expected to have a new desktop theme, but ultimately it doesn't. Nevertheless, can be installed by typing "communitheme" in the Ubuntu Software Center package finder. Once we apply the changes we restart them and we will have the new desktop theme applied.
7. Installation of Supplementary Software
Now that we are in We will use the Ubuntu Software Center to install certain applications that we need. This installation will be done through snap packages. VLC, Spotify or Skype would be good applications to start using the new Software Center.
8. Installing extensions in Gnome
Gnome extensions will also be required in this release. Following the manual that we published a long time ago, you will see what can be done with this new Gnome function.

Anything else?
These steps are the most important but they are not the only ones. Depending on the type of user we are, we can install more software or less, more configurations or less. That depends on each one, but this is basic Do not you think?
On August 15, 2018 I installed the update to ubuntu 18. Ubuntu 16 was going very well, without problems ... but since the 15th, just using firefox to see the press or elgún video on youtube ... ubuntu crashes completely ... sometimes it even restarts itself. I have not managed to have Ubuntu on for more than half an hour.
I have tried to boot with the windows 7 partition and there has been no problem.
The thing is, in the current state of affairs ... I can't use ubuntu.
good, I have a question that I do not know if it would be appropriate to comment here, but it is related to the article.
I just installed Ubuntu 18, and it is perfect for me after installing all updates and several programs, the question is if there is any option in Ubuntu to be able to create an iso that is bootable with the system as I have it now, that is, updated and with installed programs that I would like not to reinstall if I have to reinstall the OS ... make a kind of recover but custom ... I think cubic does that, but I don't know if it only modifies an iso of the OS or also allows to create an iso to your taste of an installation ...
Thanks in advance for the answer
Hi Aso: There is an application called Pinguy Builder, which does exactly what you want. You can search for tutorials on Youyube.
I have installed ubuntu 18.04 on a dell inspiron AMD® A9-9400 radeon r5 laptop, 5 compute cores 2c + 3g × 2, llvmpipe (LLVM 6.0, 128 bit), 64 bit
Everything is fine apparently, but when trying to project transparencies with the use of a video projector, it does not recognize it nor does the monitors function appear active in the configuration section.
Could help with this problem.
Thank you